


Tomatobro
-
Posts
1,249 -
Joined
-
Last visited
Content Type
Profiles
Forums
Gallery
Events
Blogs
Posts posted by Tomatobro
-
-
There is a back issue available for £4.29 on Ebay
Ref 202988062334
Will still have a look through my collection though....
No luck, April 2016 is the nearest I have so must have lgiven it away
-
Do you know what issue the plans were published? I have quite a collection of back issues that might help
March 2016....will have a look through my collection in the morning
-
 1
1
-
-
Big Dobo?
-
I used to take time to level the pier head before putting on the mount until I realised it was not necessary. To convince myself I levelled, polar aligned and tracked then deliberately shorted one tripod leg, then polar aligned and tracked. Even though manufacturers fit a bubble level levelling the mount base is not required for equatorial mounts.
-
 1
1
-
-
19 minutes ago, RobW said:
(apart from shaving my tripod leg!)
I had that problem!
I made a short extension piece to go between the mount and the tripod to give the camera clearance. The skywatcher extension tube was out of stock.
-
best advice is don't call the planning office. They don't have a clue and their default position is to always say no when they are unsure how the regs should be interpreted
-
4
-
1
-
-
I have an early version of the 100P and I took this picture of the moon some time ago using it. Gives some idea of what to expect.


-
3
-
-
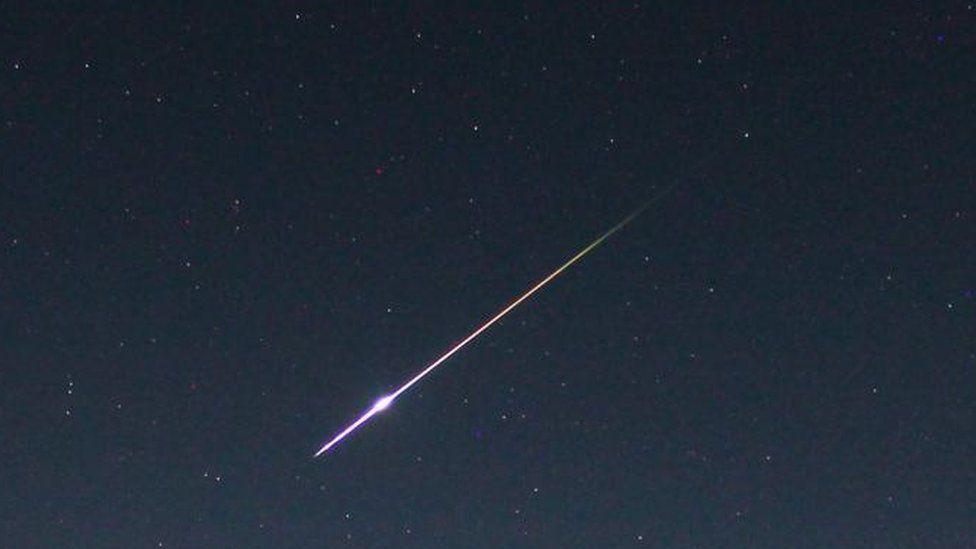
Satellites. There is an awful lot up there now. I posted earlier a image stack of last nights meteors.
-
Stack of last night's meteors. Sporadic and Leonid
-
6
-
-
I like a happy ending even if its a bit late.
-
1
-
-
The worst of it is that she has to agree to posting inappropriate content to regain access to the account.
-
1
-
 2
2
-
-
The fact that I did not watch it live or record it says a lot but having read these post's I watched it on the net and I thought it was not too bad.
Clearly spent two months budget on CGI but if it encourages just one person to take up physics then it will have done its job
-
2
-
-
According to the BBC a scientist shared a picture of a meteor on Twitter and is now locked out of the account.
Twitters AI analysis of the picture thought it contained inappropriate material. Now if it was a Starlink trail I could understand it but not a meteor .........
-
7
-
-
3 minutes ago, tomato said:
I thought the cable circle should all lie within the scope aperture?
So did I. If not then would it not be like a Newtonian secondary spider?
-
I was trying to figure out why the frame drawings had such tight dimensions?
-
having three sets of power cables clearly does help with voltage drop but that is not the intention. The one set with the black braid from the cigar plug goes to the "pier" NUC and allows me to unplug if not required. The doubled up cable set has one pair going underfloor to the "Dome" NUC and the other goes underfloor up the pier to the USB 4 port hub, camera cooler and other stuff.
I do have a led voltmeter mounted on the pier which allows me an "at a glance" check on the system voltage and allows me to tweak the output from the power supply to compensate for different setups on the mount. This because from time to time I change what's on the mount and the loads they present change.
Not really necessary but as a retired technical manager old habits die hard.
-
1
-
-
Don't forget that the camera's front end electronics has filters built in so you are as you say "overthinking" it.
I have two power cable runs from the power supply. One goes to the mount and powers a NUC pc, fans, SQM unit, an audio monitor and a ZWO dome camera.
The other power cable from the power supply powers another NUC, The mount itself (EQ8-r), a focuser, filter wheel, ZWO asi1600mm camera. guide scope camera and scope cooling fans.
Also powers a USB 3.0 4 port hub (Startools industrial type).
Hope this helps
-
1
-
-
I should have added that this was for DSO's not planetary.
-
1
-
-
Thanks for clarifying which ones.
A club member let me try some IS bins a few years back but I cannot remember what the make and model they were and I recall being reasonably impressed with what I saw. In the end I got some 25/40 x 100 bins and made a fork mount with Alt/Az finders which I use but still need setting up to use.
The idea of IS bins appeal due to not really requiring any preparation just walk outside and go.
-
1
-
-
1 hour ago, HollyHound said:
Canon IS 50x50
Is that 18 x 50's IR?
-
1
-
-
Adding a latching relay across the roof switch would fix the problem.
You go into the ROR and the mount will not be powered until the roof is opened. Opening the roof puts power on the switched side and closes a relay which shorts out the switch. Now you can open and close the ROR while still maintaining power to the mount. At the end of the session turn off the power which opens the relay and shuts off the power to the mount. Now you have to open the roof to put power back onto the mount.
-
I would feed the mount supply through an industrial roller position switch so when the roof is closed the power to the mount is off.
To prevent the roof from closing when its likely to hit the scope a IR through beam detector on the leading edge of the roof.
-
looking at the pier and adapters I made for mine I think it would be possible to slash cut the four spacers at (say) a five degree angle to sandwich the top plate between a top and bottom spacer and still have the bolts vertical. The holes in the sandwiched plate would have to be large enough to accommodate the angle but when bolted down would still be ridged.
Just an idea
-
2
-
-
Its the axis that is aligned with the pole so getting the mount level is not an issue. Yes I know that manufacturers add bubble levels but that is because users expect to have to level the mount base as part of the setup.
Take a look at the latest version of the MESU 200 mount. It uses a welded angled "wedge" . Something like that could be fabricated.
Steel disc's are available on Ebay of various thicknesses along with bar offcuts so the challenge would be drilling and tapping as required, boring hold down bolt access holes and welding.
Given that the mount already goes to 50 degrees the angle only needs to be 5 degrees to get the mount within its adjustment range.
-
1
-


Accident with my rig over the weekend - is this damaged ?
in Discussions - Scopes / Whole setups
Posted
Flo has some in its accessories