


happy-kat
-
Posts
13,795 -
Joined
-
Last visited
Content Type
Profiles
Forums
Gallery
Events
Blogs
Posts posted by happy-kat
-
-
No but it is better than no wedge.
I used an old school protractor to mark the angle and a good clean sharp saw. I had a lip in the design so it would be easy to put a top board on and not have the virtuoso mount slip off.
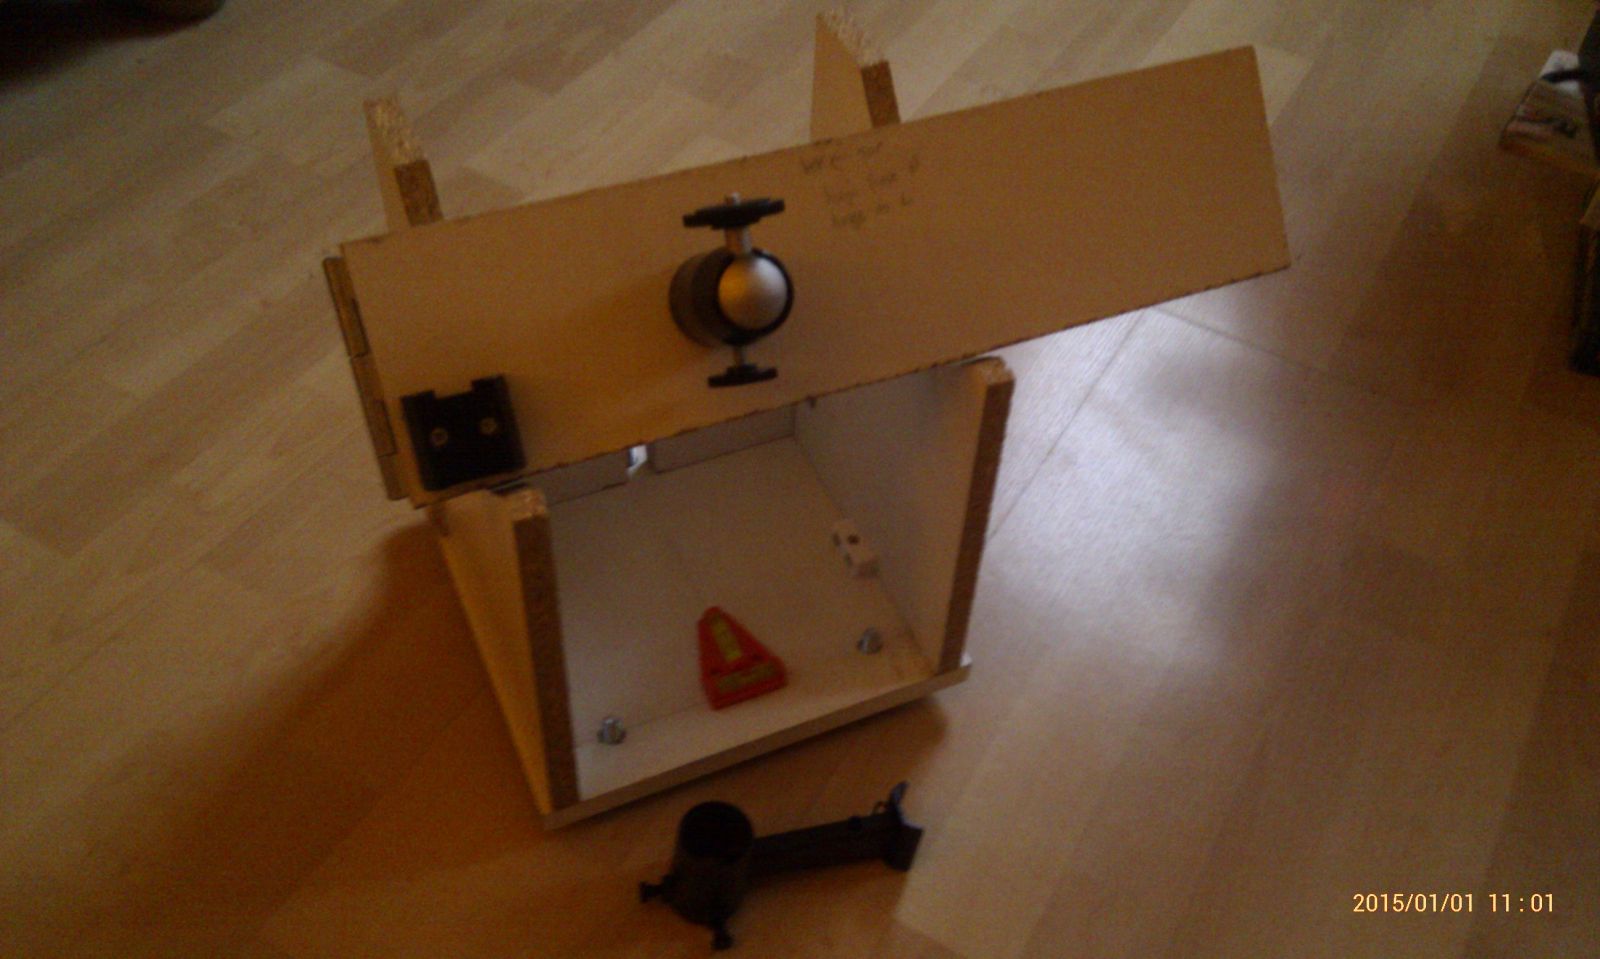
Two adjustable feet at the front, one at the rear.
There is a backboard as well (out of sight) and the whole unit is very strong and stable.
It was an old kitchen cupboard shelf or something similar, all raw edges got 3 coats of pva glue as it is only chipboard.
Should add following another comment below I have no idea how the virtuoso motors will behave or wear if the mount is used at an angle.
-
It is easy to make a wedge, I made one for my barn door mount as no tripod here, from bits of chipboard lying around. I didn't bother making an adjustable one as it won't be needed.
5 bits of wood and various fixings. Free already had them
3 leveling feet. £4
1 caravan spirit level. £2
-
Makes this neat mount even more attractive
-
That looks neat, look forward to your report on it when it arrives.
-
If you know how long the exposure of a sub was and how many pixels long the captured line was can you work or how fast it was going?
-
I captured a very bright moving object a week ago going west to south that was not a plane and was very bright.
-
They are very inspirational, just need the patience to take lots lots of subs reading what you did.
-
-
The idea with using a webcam is you remove the webcam lens, you remove the telescope eyepeice, you fit a nose cone to thw webcam, you put the webcam in the focus tube this is prime imaging, the telescope acts as a lens for the webcam.Webcam isn't designed for imaging no, but it does give images, just not that great - See below (I celotape the webcam to the Eye Piece)
-
 1
1
-
-
This is just what I need as I have a 740k that I bought cough ... years ago. and it is only XP happy but this should mean I can use it with the new windows 8.1 tablet if I flash it.
-
And I see that First Light Optics have the Celestron Granite range at a great promotional price today.
-
1
-
-
Old pair of Charles Frank 8x30 (need colimating) now complimented by a pair of 8x42 ED Celestron Granite and used for the first time last night, oh my what a big improvement lovely visually saw so much more and very clean and bright. Pondered getting the 10s but glad stuck to the 8s as would have been too much shake if I had gone for more magnification and the 8.1 fov is lovely.
-
What about a 1 inch luggage strap, they hold stuff together pretty tightly.
-
Surely it is less destructive to either use a barlow or fit longer bolts to support the primary mirror higher.
-
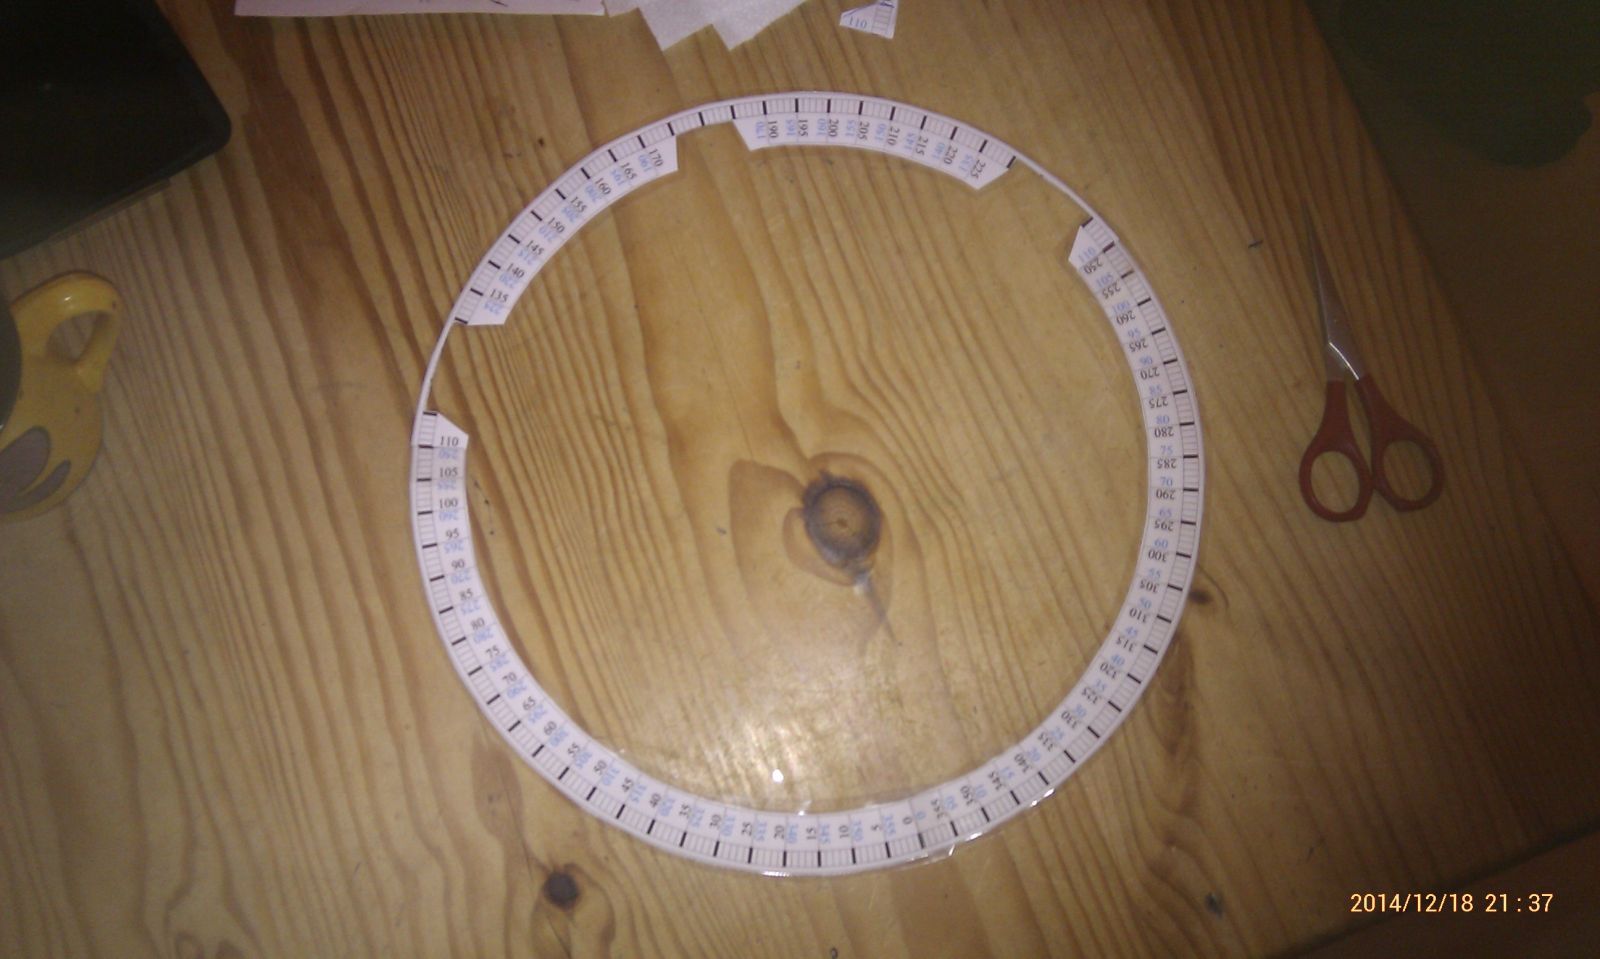
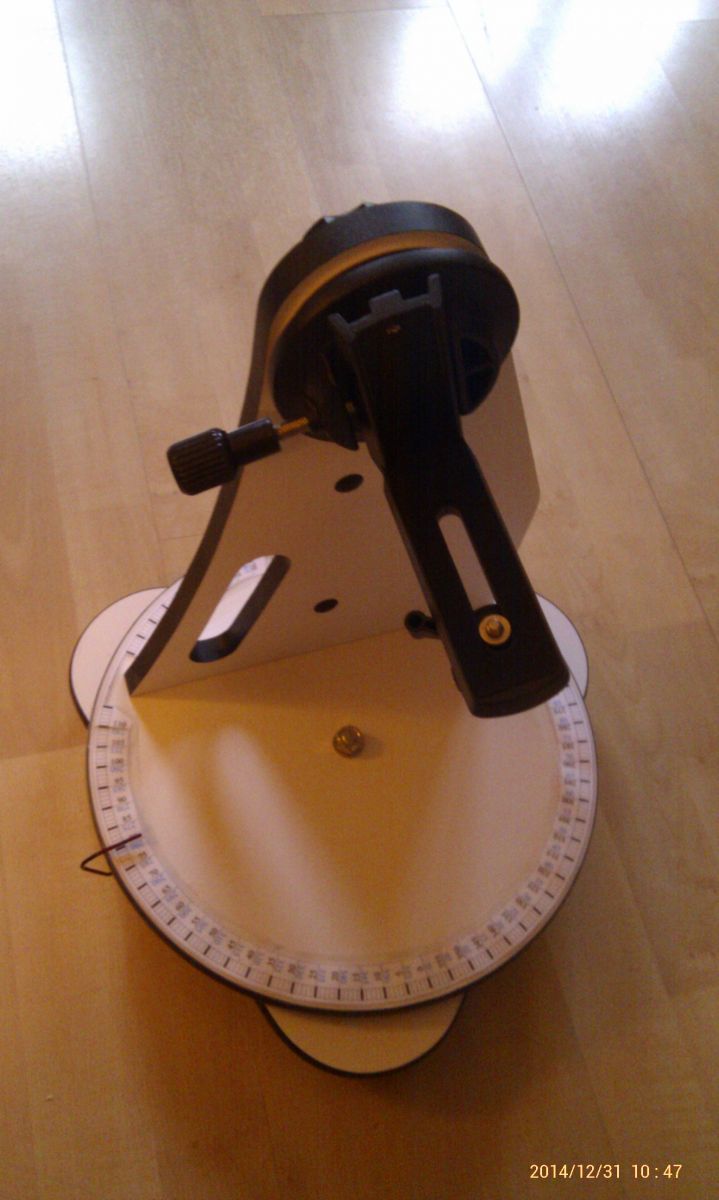
I had a project in mind after seeing numerous other posts on adding a setting circle to a dobsonian mount, so I thought why not...
The Heritage 130p does present a change because the bottom mount is an irregular shape and does not lend to the approach I read about and found great examples of on here.
So I thought I would treat the setting circle as a relative solution and not absolute like the other project threads I had read.
So I have a degree circle on the top base board.
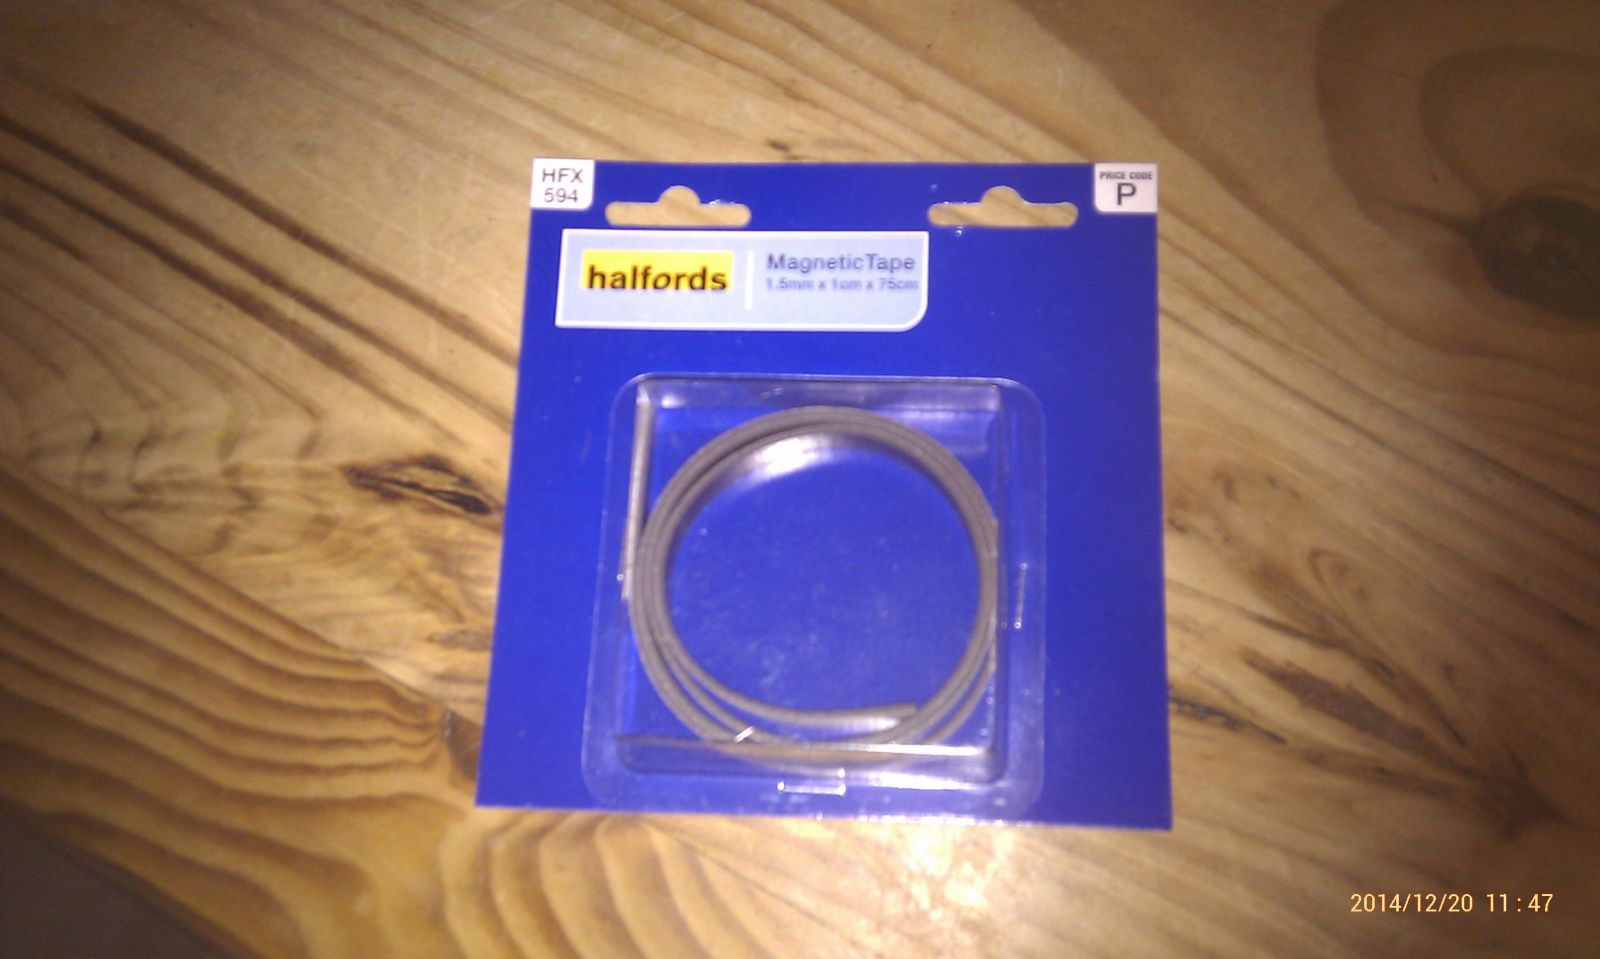
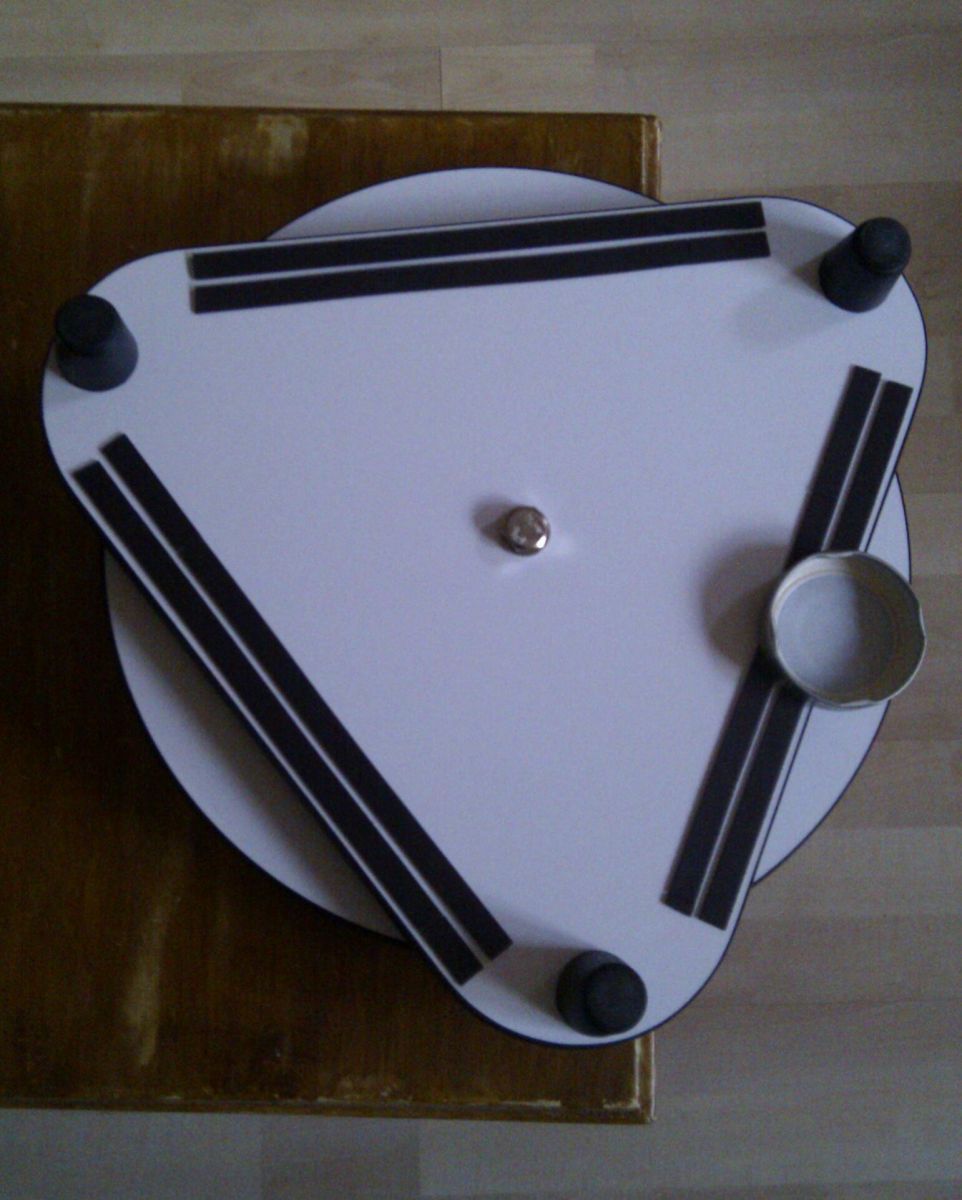
On the underside of the bottom board I have fitted magnetic tape.
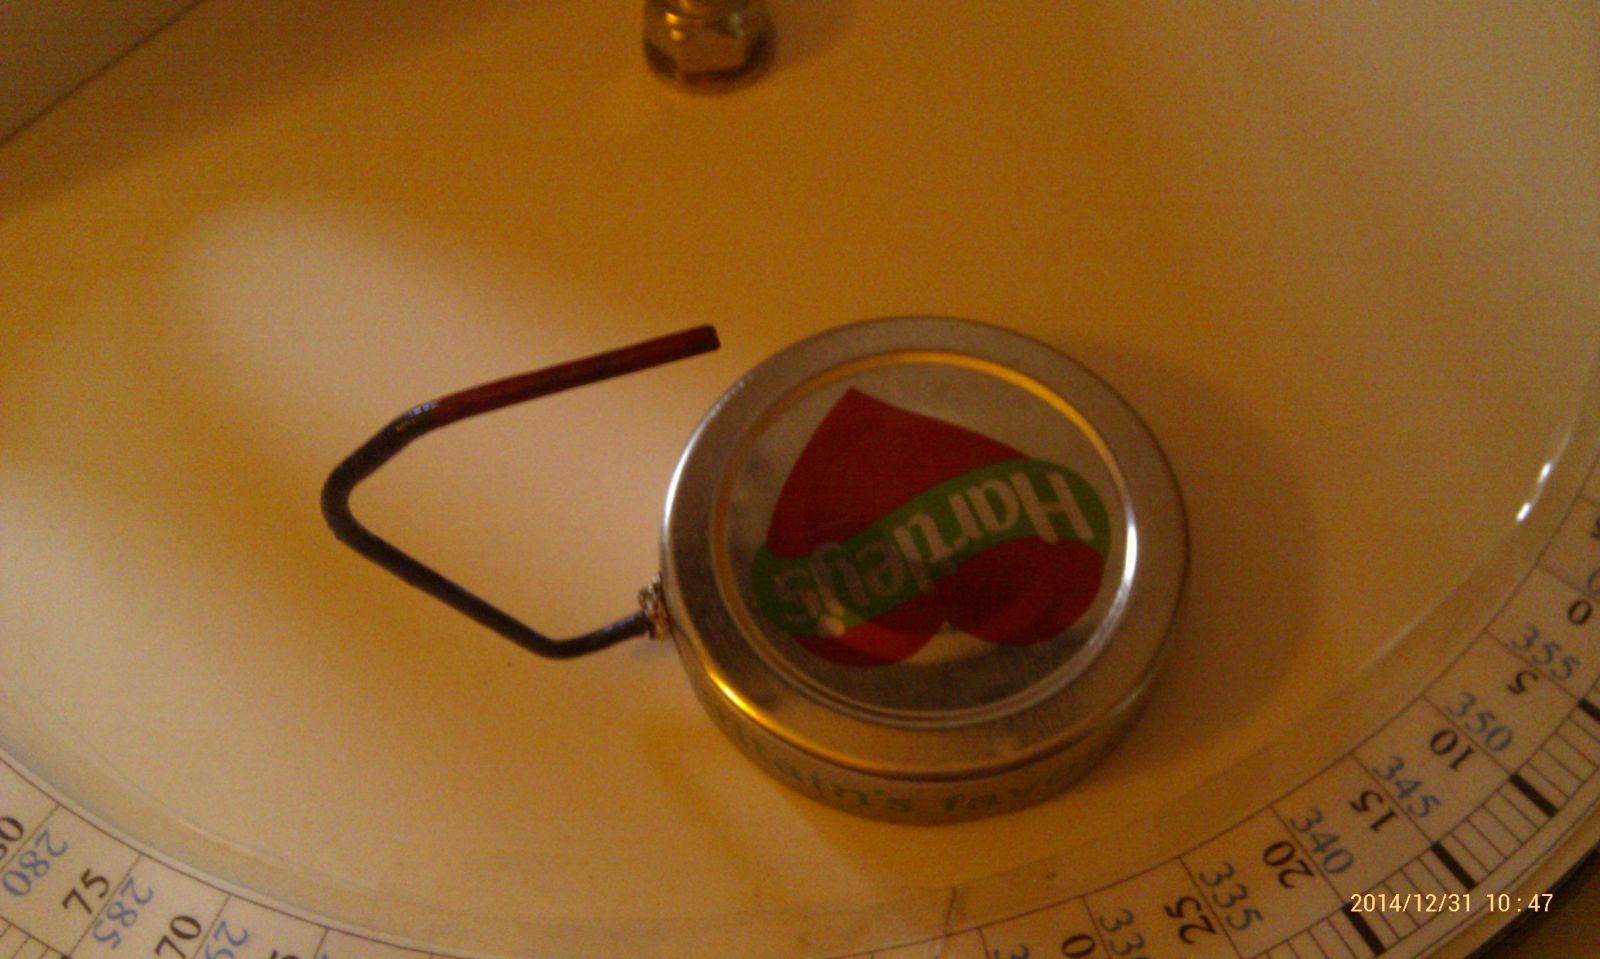
I used a jam jar lid and a bit of coat hanger to fashion a moveable degree marker.
For the altitude I bought a Wixey.
When using, of which I am still testing, I find an object that is easy then move the angle marker to a convenient spot and then using Stellarium decide on a nearby target and then I move the top board relative to where the marker to the new object by the distance between the two objects. So if the current object is 97 degrees and the new one 85 I would move the top board 13 degrees in the relevant direction. This in my theory means I don't need to align the mount.
I then use the wixey to change the angle by the relative difference between the two objects.
I didn't need to print any numbers on my setting circle but I wont reprint just for that so I just ignore them.
Each fat marker is 5 degrees apart with a 32mm I get 2 degree FOV.
What I should do next is fashion a level board for the Heritage to sit on as my paving slab base is very off and I think this is not helping my testing.
Also included an image of the attachment bought that means I can use a camera or say my short ST80 refractor on the same mount, makes it very veratile.
First print outs and dummy runs
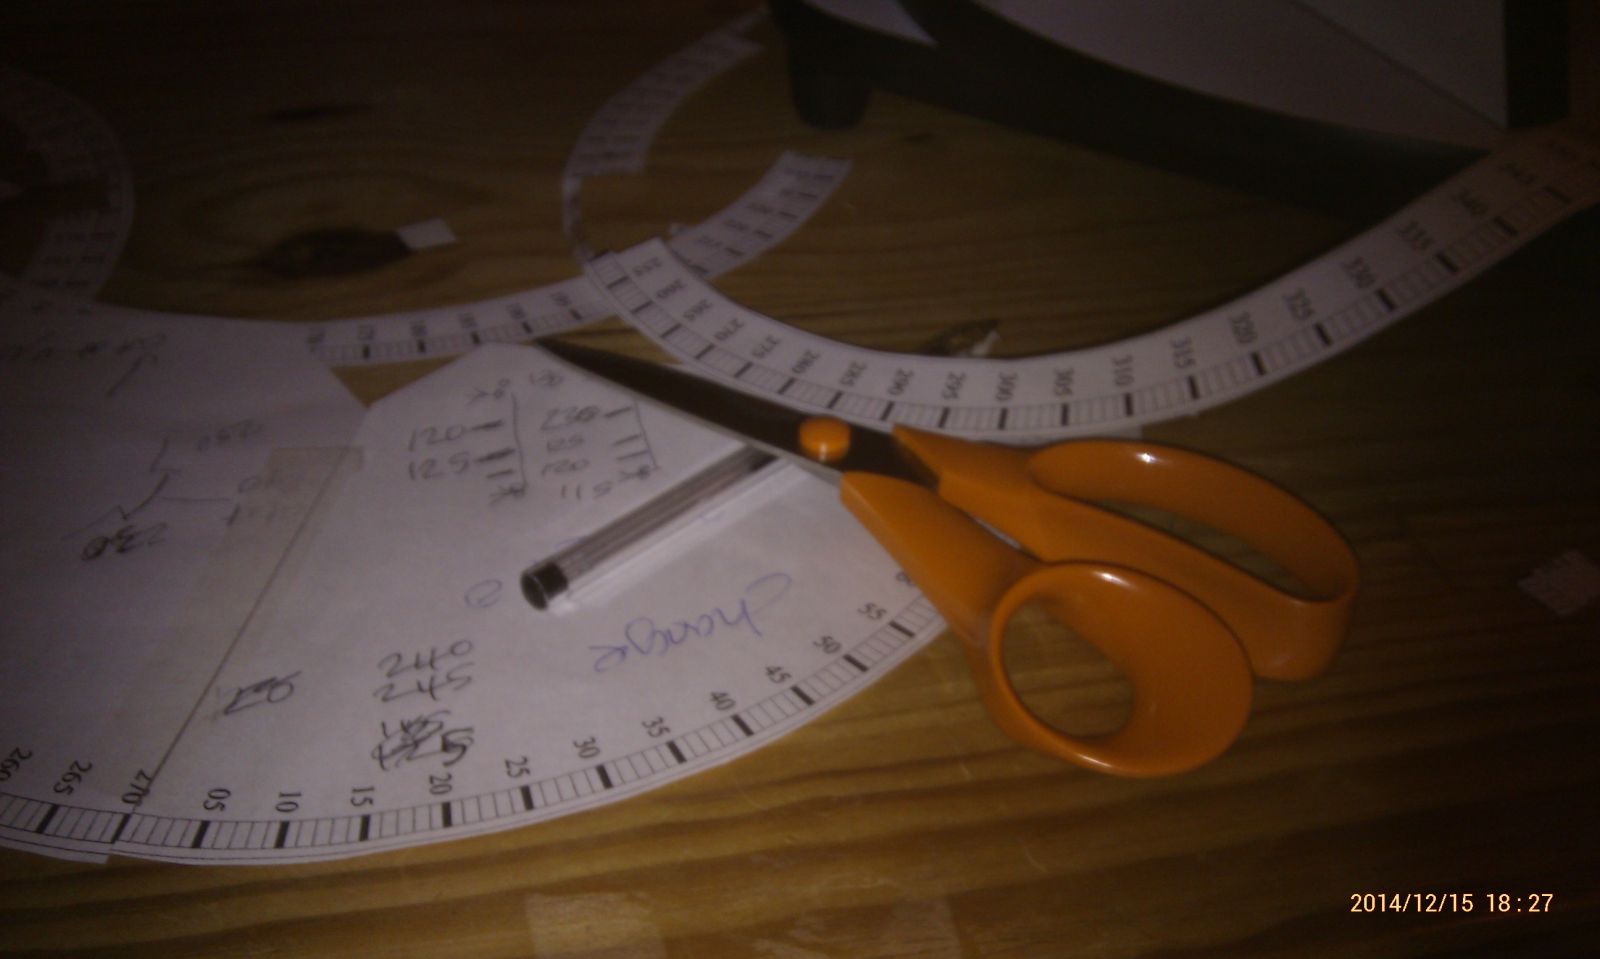
Printed out and loose aligned. due to the design of the heritage base I had to further trim a few areas to have enough clearance and retain a laminated edge.
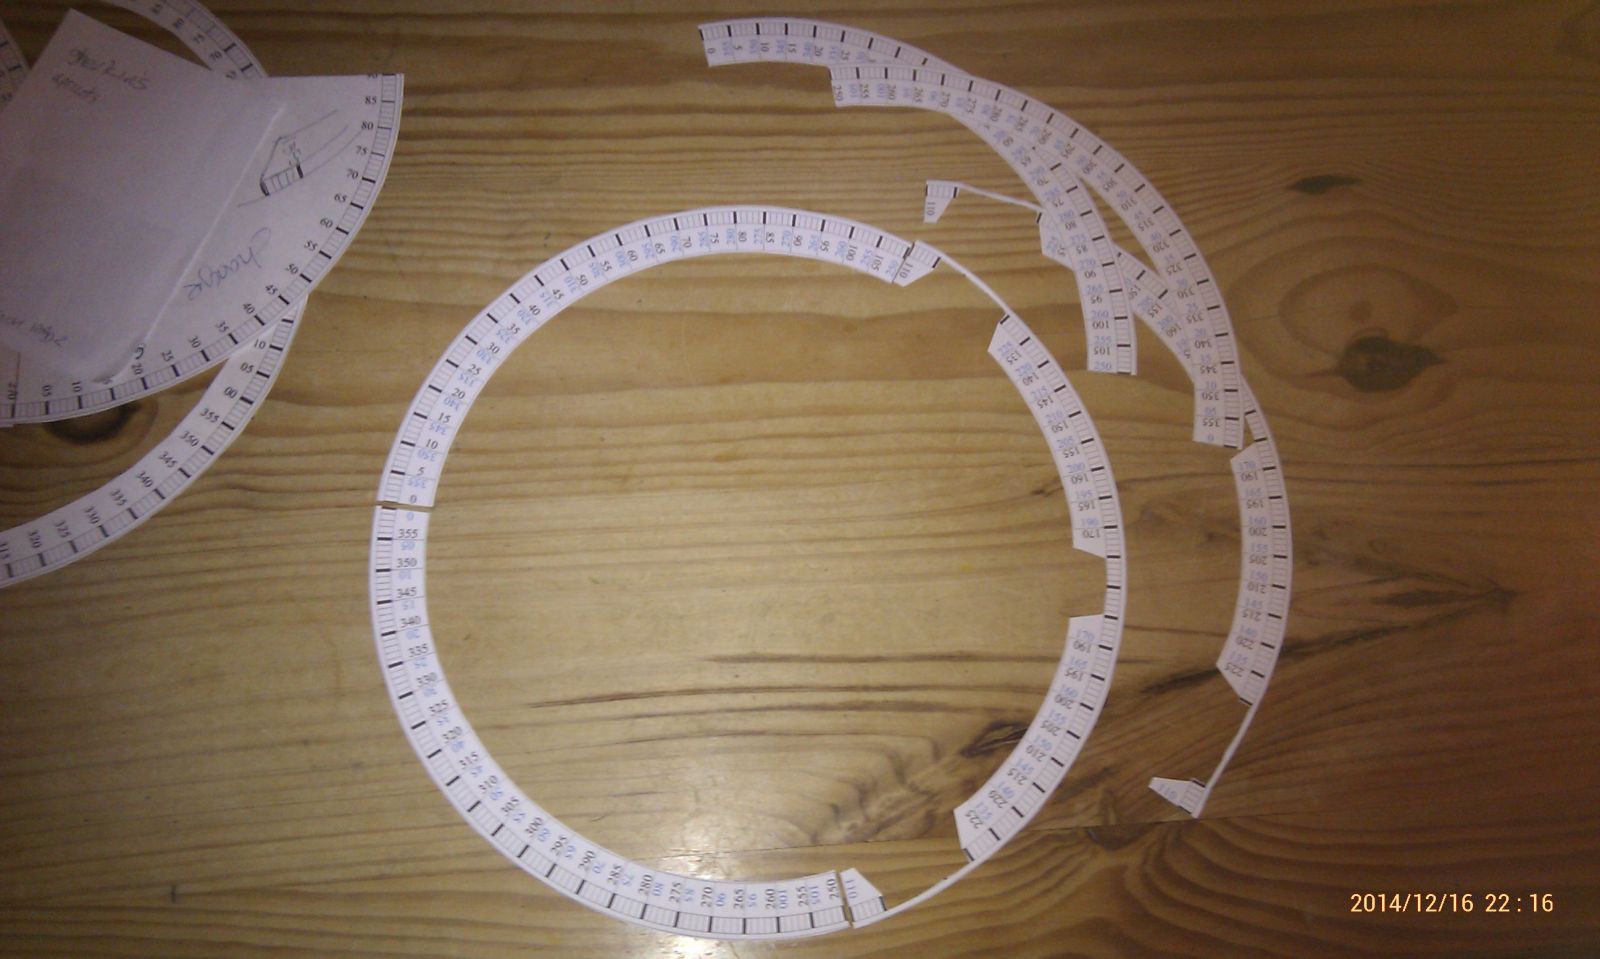
Laminated 2 sets on A4. Broke the design into three so I could print it out with what I had access too using paper space views.
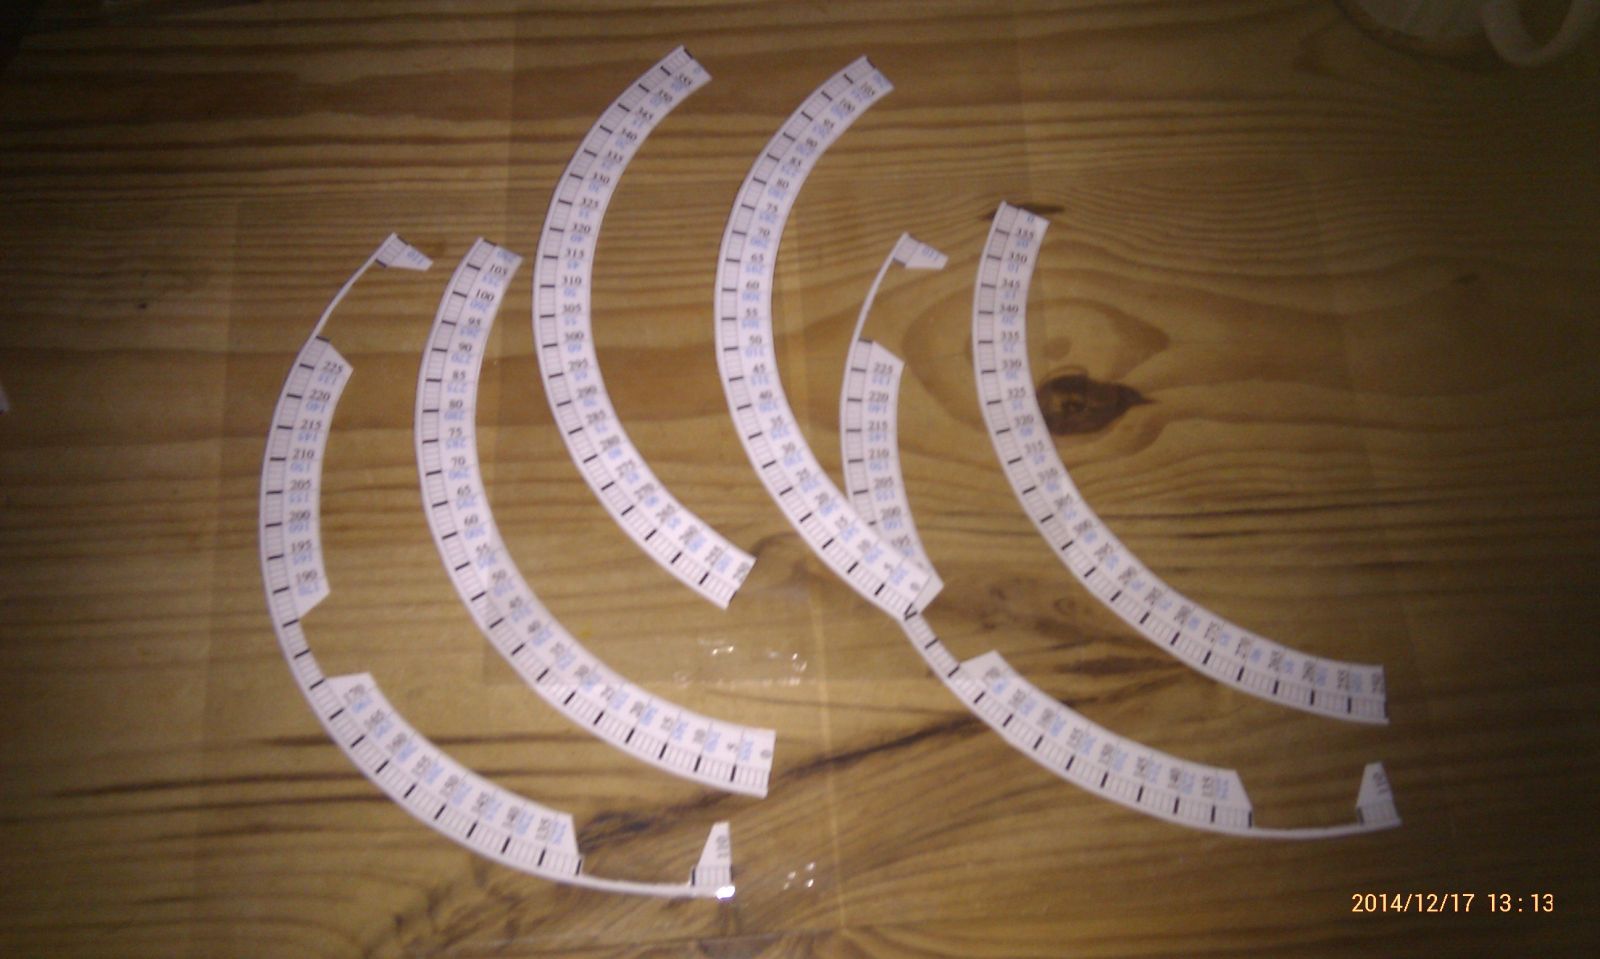
Trimmed up and loose fit. I used just selotape to stick the laminates together and then onto the top board.
Magnetic tape.
Magnetic tape fitted and test run of jam jar lid.
Jam jar did and angle pointer. The tip is painted red.
I will be fixing a red LED to this marker but the mini battery holder with switch has not arrived yet. My partner soldered the coat hanger on to the lid.
Finished base and showing the skywatcher attachment I bought from FLO and I have a 2 way level (not shown) that I can use to check the base.
Many thanks for the setting circle support to SGL member abberation.
-
4
-
-
I really enjoy the images shared from this telescope. The detail and stars just seem so deep and velvety.
-
Wow so much detail once you make the photoshop image
-
1
-
-
Fair enough

-
Are manual barn door trackers eligible to add to this thread?
-
At least you could practice the outdoor imaging experience with the ST80 whilst hawking the secondhand pages
-
That looks such a simple design to be able to get both direction movements. What stops the turning joints from popping out?
Love the counter weight, simple but functional.
-
Rose or Heart nebula?
-
Beautiful, amazing, thank you for sharing this brilliant price of work. I love the identification overlays.
-
Do you have a garden (flights of stairs to reach it) or does it need to be ultra portable to get to somewhere else to observe?

Skywatcher Heritage Virtuoso controlled via bluetooth
in Discussions - Mounts
Posted · Edited by happy-kat
Somebody has already built a wedge for their one. No updated posts I could find on performance though.
http://stargazerslounge.com/topic/192325-synscan-az-goto-and-a-wedge/?fromsearch=1