


Dave_D
-
Posts
1,484 -
Joined
-
Last visited
-
Days Won
1
Content Type
Profiles
Forums
Gallery
Events
Blogs
Posts posted by Dave_D
-
-
4 minutes ago, DaveL59 said:
yikes I'd not have used superglue, it outgasses and can leave a nasty residue on optics, hope you left it open a good while before you sealed it all back up 😮
Well done on getting it all back aligned tho 🙂
well, gorilla glue to be exact. i'm leaving it 24 hours before i put the backplate on
-
i was right... the diagonal had been taken apart in the past... one of the springs was completely off its screw and the bearing pivot was jammed at the side...
i drew up a centering drawing an wow, i didn't realise it was so far off centre but a rebuild of the diagonal and a spot of superglue to lock the bolts and VOILA!!!
can't wait to get back out in the field to see what this scope can really do now

bodge bodge bodge... and fixed

holy moly

all's good in the world now
-
 1
1
-
-
5 minutes ago, DaveL59 said:
is that with the laser in the diaganol? Do you get the same with the diaganol removed, that'd confirm the focuser and lenses are or are not the issue.
good point. this is without the diagonal

-
8 minutes ago, dweller25 said:
Nice scope
Adjusting the diagonal is not ideal - It would be better to shim the focuser
i noticed the diagonal had been opened at some point in the past for some reason as there were burrs on the back plate. i'm wondering if a previous owner bodged it?
-
So a while back i finally got myself a Tal 100R after years of trying to find one locally. The times i've used it, and after reading various reports from other owners, i always got the impression that the scope wasn't giving me the image quality i was expecting. I built an adaptor to hold my Glatter laser and, well, this sure doesnt look right. As the only point of adjustment is the alignment of the 90 degree mirror, do any of the more knowledgeable refractor users think that adjusting this mirror will give me a marked improvement?
-
8 hours ago, Gina said:
I guess you don't need to stay the whole night - pack up before dawn. Wonder what they'd think of that.
admittedly, i later got another email from a different person basically saying that
still a funny first reply though
as to the being overly welcomed... well most people steer me a wide birth especially when i got my trenchcoat and boots on 🤣🤣🤣
-
1
-
-
So I saw three 'dark sky sites for star gazing' on the peak district website and emailed them for info... Not sure if the reply made me laugh or groan...
Thank you for contacting the Peak District National Park Authority.
Staying overnight in our carparks is not permitted, such as parking for the whole night in a campervan. Please observe the timings of the parking charges at the carpark (9am – 6pm)
-
 4
4
-
-
20 hours ago, saac said:
Dave that is looking really good, well done. Have you decided how you are going to size the truss tube - by calculation or practical method ? I took a rather Heath Robinson approach to mine and focused on the moon by sliding the upper OTA up and down the tube until I found the sweet spot (focuser at mid travel) . Looking back it was less than elegant; he jig I used was heavier than the telescope ! Good luck with the rest of the build you will be itching to get first light.
Jim
i've got a full 3D model to work from. only things i don't know yet is the exact distance to the surface of the primary until i find decent springs for the primary cell and the secondary holder size. i kind of guestimated them in the model but until they're physical objects, well... y'know
-
1
-
-
and yeah, there's only 6 truss poles there but i wanted to play
-
3 minutes ago, CraigT82 said:
Wowsers what's the FL on that! Looks like it's going to be seriously neat and ultralight style
the primary is 14.5inch F5.6 (80 inches give or take a bit) but i bought 2000mm poles. there'll be somewhere round 400mm coming off them once i get the primary cell completely finished so i know exactly where the secondary will need to be to complete the measurements.
it's actually a lot heavier than it looks as it's made from 18mm exterior waterproof MDF, but y'know, that's what cars are made for
-
1
-
-
finally starting to look like a scope
just 4 more truss pole ends to make then i can shorten the poles to the right length and do the spider and finish the collimation side of the mirror cell
-
2
-
-
2nd print since i got the Mars... i wouldn't even know where to begin doing this on a FDM printer...
still needs cleaning up and gluing once the tail is finished, but dayum...
10" long (5 parts of the model done so far, 1 to go) cost about £3.50 in resin
-
5
-
-
Not sure if this kind of post is allowed, but Salford Astro Society are running a fundraiser on their facebook page to raise £3000 to convert their 18.5 inch newt to goto. It's an impressive scope, used to be housed at Jodrell Bank
-
1
-
-
1 minute ago, Gina said:
That's interesting! Please let us all know how you get on with it and the running costs etc.
will do. personally though, running costs aren't that important to me as i don't print a million-and-one useless boatys, just useful stuff.
the printer is about £250 on amazon so couldn't resist
i found a 405nm UV nail dryer for £20 which i'm converting into a curing box
resin is currently about £20 for 500g but the price is dropping as the popularity of DLP printers is taking off a lot now.
-
is anyone using resin printers? just treated myself to an Elegoo Mars, cause y'know, nerdy astro stuff had to maintain the theme
-
1
-
-
-
Just completed this addition to my AZ EQ6-GT polar scope so i won't be breaking my back when i eventually get to use the scope again. I got a practically 'as new' 90 degree Canon viewfinder for the princely sum of £10 off fleabay. I saw a couple of adaptors for the star adventurer on thingiverse, but this one is specifically for the EQ and is just a one piece 3D print. The adaptor is a very snug push fit (created in OpenSCAD) onto the focusing ring and the fixed body of the polar scope and has just enough freedom to allow it to be rotated for focusing. I stuck the metal bracket from the camera shoe (? i think thats what it is) and fixed it to the plastic adaptor with double sided tape and then heated the 4 screws from the (camera shoe) and screwed them in. It seems plenty sturdy enough.
Mega complex openscad model lolol
difference()
{
union()
{
translate([0,0,28])
cylinder($fn = 200, h = 3, d1 = 42, d2 = 42, center = false);difference()
{
cylinder($fn = 200, h = 31, d1 = 38.5, d2 = 39, center = false);
cylinder($fn = 200, h = 29, d1 = 29.3, d2 = 29.8, center = false);
}
}translate([0,-0.5,0])
cylinder($fn = 200, h = 40, d1 = 12.33, d2 = 12.33, center = false);translate([0,21,0])
cylinder($fn = 200, h = 40, d1 = 3, d2 = 3, center = false);cube(size = [50, 1, 50], center = true);
}overall, it works a treat
-
works far better than i thought... seems very stable even without the top section bolted to the top ring
-
3
-
-
So after what seems like an eternity wrestling my demons (don't ask), i've got my finger out again. top ring is coming along, the first part of the focuser mount is 3D printed with heat inserted threaded inserts to clamp the top section (which is currently still in openscad being finalised) to hold it all in place, just need to make the spider now. Waiting for the 25mm dia plastic knobs to arrive so i can finish the truss poles.
-
4
-
-
The worst thing about having astrophotography as one of your favourite hobbies is being stuck somewhere where you can't do it... stuck in a 1st floor flat in a heavily light polluted area and having weekends almost totally taken up with family, and not having the finances to afford the extortionate rent charges of finding a decent house (at 53, i really doubt i'd get, or be able to afford a mortgage), i've all but given up on imaging
I've been toying with the idea of a remote obsy, where i can store the majority of my gear without having to worry about carting delicate (and heavy) gear up and down stairs and subjecting it to a longish drive.
So, i've been pondering getting in touch with farmers/ land owners round the north cheshire area about renting a small bit of land.
Has anyone here done anything like this?
-
may well be a RS... looks totally different from my 100R
-
i always thought that the truss fixings would be the stumbling block of this build... oh so not true
£4.50 a piece as opposed to who-knows-what-with-standard-astro-500%-markup truss connectors.
a wee bit of fettling on these aluminium go-pro butterfly diving connectors and all is good in the world. can't use the original handles to tighten them up but hey, that's what 3D printers are for
just need to design and print conical handles now...
-
1
-
-
Just now, Atreta said:
Piezo sensor looks interesting, is there any videos showing it fitted to an ender?
i was building a piezo mount on my anet but it just wouldnt print the parts well enough. time to retry it on the ender
15 hours ago, JamesF said:I found OpenSCAD quite good for modelling because I understood the way it works (adding and subtracting solid objects from each other, basically), but I'm thinking it will in the end prove limiting in the end...
can't see why. i modelled these in OpenSCAD. mostly parametric, i can change the focal length variable and all strut lengths etc are automatically calculated.
not 3D printing related but OpenSCAD is as powerful as any once you understand how to code it.


-
1
-
-
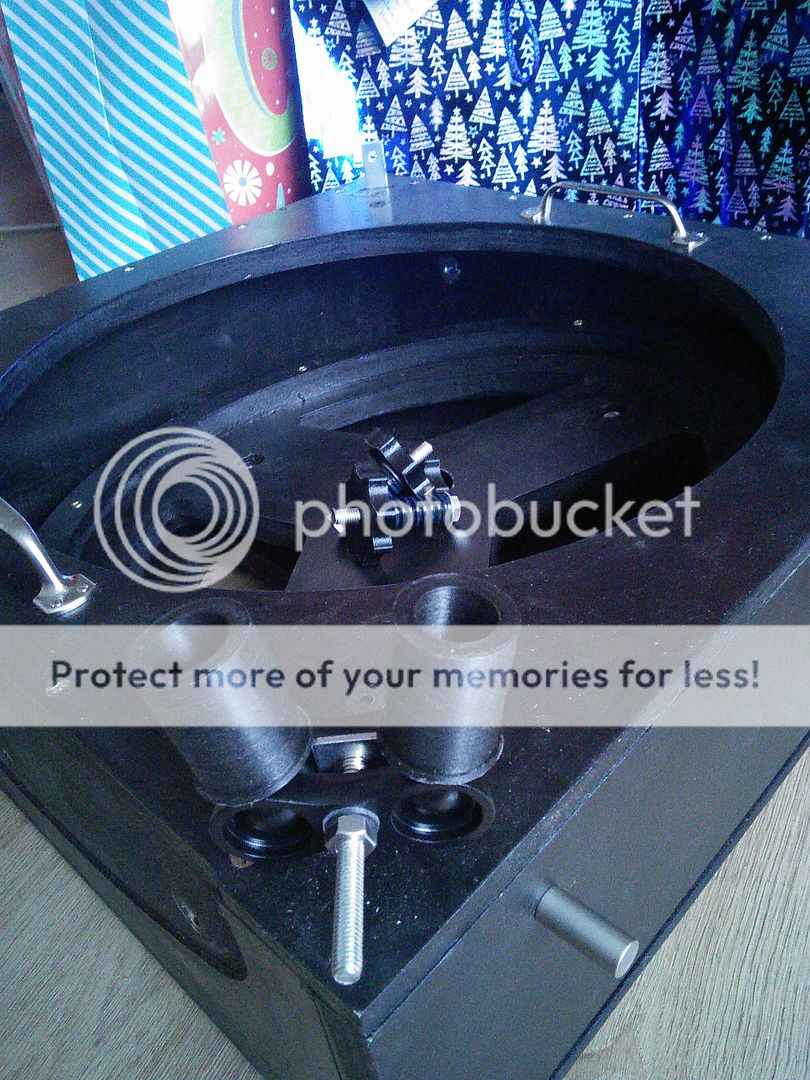
this bearing is going to work really well... supposed to have a load capacity of 200kg. bit of overkill but y'know... kids had fun spinning me round on it
that's my girl singing to youtube btw...
-
1
-


Tal 100R alignment
in Discussions - Scopes / Whole setups
Posted
i hope so i'd been looking for a Tal 100R since the turn of the century lol but never found one locally till last year.