


ejp1684
-
Posts
284 -
Joined
-
Last visited
Content Type
Profiles
Forums
Gallery
Events
Blogs
Posts posted by ejp1684
-
-
Hi Jim.
I posted about my experiences with Lowspec earlier in the year here. I've done quite a bit since (weather permitting!) and a couple of nights ago obtained some nice spectra in Cygnus. I've been using a 150pds so far but I now have a 200pds on order which I hope will give even better results.
In short, I would recommend it as a project. It took me quite a few hours to complete, especially filing down the moving parts which hold the grating so it rotates smoothly, but well worth it.
Eric.
-
 1
1
-
-
Referring to an earlier post about Prusa i3 printers, I bought one from ebay about three years ago, and it's still going strong. I also use dirt cheap PLA, again from ebay, for about £10 or £12, and they have performed as well as a £33 one from rigid.ink. In my experience 3D printing is as much an art as a science; it took me many hours to work out all the settings to produce quality prints good enough for my purposes. And by that I mean successfully printing all the parts for the Lowspec spectrograph, including all the screw threads where necessary, which surprised me.
Eric.
-
1
-
-
Another vote for BASS.
Eric.
-
2
-
-
I haven't built a dew heater controller, but I did build Robert Brown's focus controller. It was enjoyable to build, and Robert was very helpful when I had a problem.
Eric.
-
I had exactly the same issue, only I have so little confidence in my PC abilities I though it was something I'd changed without realising it!
Eric.
-
1 hour ago, Ouroboros said:
Persoanlly I found the upbeat American-style of presentation extremely irritating. Pity really because for me it spoiled what was interesting content, some of which I didn't know.
Perhaps they hope to sell it in the USA?
-
A visit to the London Planetarium followed by The Observer's book of Astronomy sparked my interest. The book was a prize at school when I was 13.
Eric.

-
1
-
-
I also use an ironing chair for visual observing with my 150pds.
Eric.
-
Having used both I now prefer to use either my ipad or iphone. I only use them for visual use, as I use a Windows laptop for imaging/spectroscope work.
I don't have any problems with the touch screens in cold/damp weather. Both devices work well, with no disconnects.
8 hours ago, Paul M said:The tablet also sleeps after a short while requiring constantly re-entering the pin number (all internet capable devices in the house are strictly password/pin protected for child safeguarding reasons).
Mine are also password/pin protected, but don't sleep. I believe there is a feature in SkySafari or in the Operating System which prevents this.
Eric.
-
1
-
-
Thanks for this, Robin, I'll certainly give it a go as soon as I progress on to using an 1800 l/mm grating.
Eric.
-
I've called it LOWSPEC.2 as it's the updated version of Paul Gerlach's LOWSPEC, a DIY 3D printed spectrograph. I built the first version but had trouble aligning the guide mirror (which was fixed), and locating the slit by waving a torch down the scope made it difficult to use.
The updated version is a vast improvement, for me at any rate.
1. The guide mirror can now be adjusted forward and backwards and side to side. I can now actually guide the spectrograph.
2. Adding an Illumination device (Baader). The slit can now be illuminated and the overlay in PHP2 used to locate it. No more trouble getting the star on the slit.
There is also the option to use a 30mm dia camera lens instead of 24mm. The camera lens used is 100mm focal length; I had a 30mm dia lens left over from a previous diy project which is 90mm focal length so I used that. I'm not sure of its quality as I bought it for £15 from ebay, but it seems to work ok.
I also had a defraction grating of 600 l/mm from a previous project so used that. Paul reckons LOWSPEC will now cope with anything up to a grating of 1800 l/mm.
For calibration I used a Philips S10 starter bulb because I found some calibration charts for it, (I think on one of the French websites) and these bulbs are about £1 in B & Q, significantly less than the Relco ones (if you can get them). I made a hole in the top cover, made a container on the 3D printer and now I simply insert it when I need to get a calibration reading. Not the most practical solution but again, it seems to work. If Paul manages to add a calibration unit inside LOWSPEC, that would be the icing on the cake. And if it could just be attached to the existing body that would be a bonus, as it took me 29 hours to print!
Here's a couple of shots of the thing itself.
The long tube houses the Philips lamp.
Here the calibration unit is inserted into the top cover.
The first reasonably clear night was moonlit and there was high cloud coming and going, but I went first for Vega as it's easy to image and calibrate with the Hydrogen lines.
The salmon coloured line is the A0V reference.
The image of Vega looked quite good on the laptop, so I moved on to P Cygni, one of my favourite subjects, and here are the results.
I've taken some of the readings from a PDF version of Richard Walker's 'Spectroscopic Atlas for Amateur Astronomers'. It doesn't seem to be available for download any more, I think there's now a book which you have to buy.
I may need to get a better guide camera; I'm using an Altair Astro GPCAM mono and when guiding it used a star with a S/N ration of 9.8, the brightest available. But having said that, it managed to keep P Cygni on the slit for 5 minutes at a time.
LOWSPEC is a great project if you've started out using the StarAnalyser and want to move to a higher resolution. It takes a lot of patience and persistence, but worth it. I reckon the total cost for LOWSPEC is about a quarter of the cost of an equivalent 'off the shelf' spectroscope, so if you can't justify spending loads of dosh then this is a viable option.
Eric.
-
8
-
-
I've been using a Leisure battery 20ah for a couple of years now with no issues. Cost £35. After 6 hours observing, including a small heater for the guide scope, it rarely goes below 50% charge when it's still pushing out 12.4v. Built a box for it and secure connections. Key to using it effectively is the electronic charger.


-
3
-
-
This one has been under discussion on the astronomical-spectroscopy Yahoo group.
https://en.jeulin.fr/simple-radial-slits-212076.html
Eric.
ps. Welcome to the forums! (Just noticed this is your first post)
-
 1
1
-
-
Don't know if this is what you're looking for. I've only recently bought an HEQ5 mount, and I'm learning about EQMOD so interested in any problems which may arise.
http://welshdragoncomputing.ca/eqmod/doku.php?id=faqs_-_park third FAQ.
Eric.
-
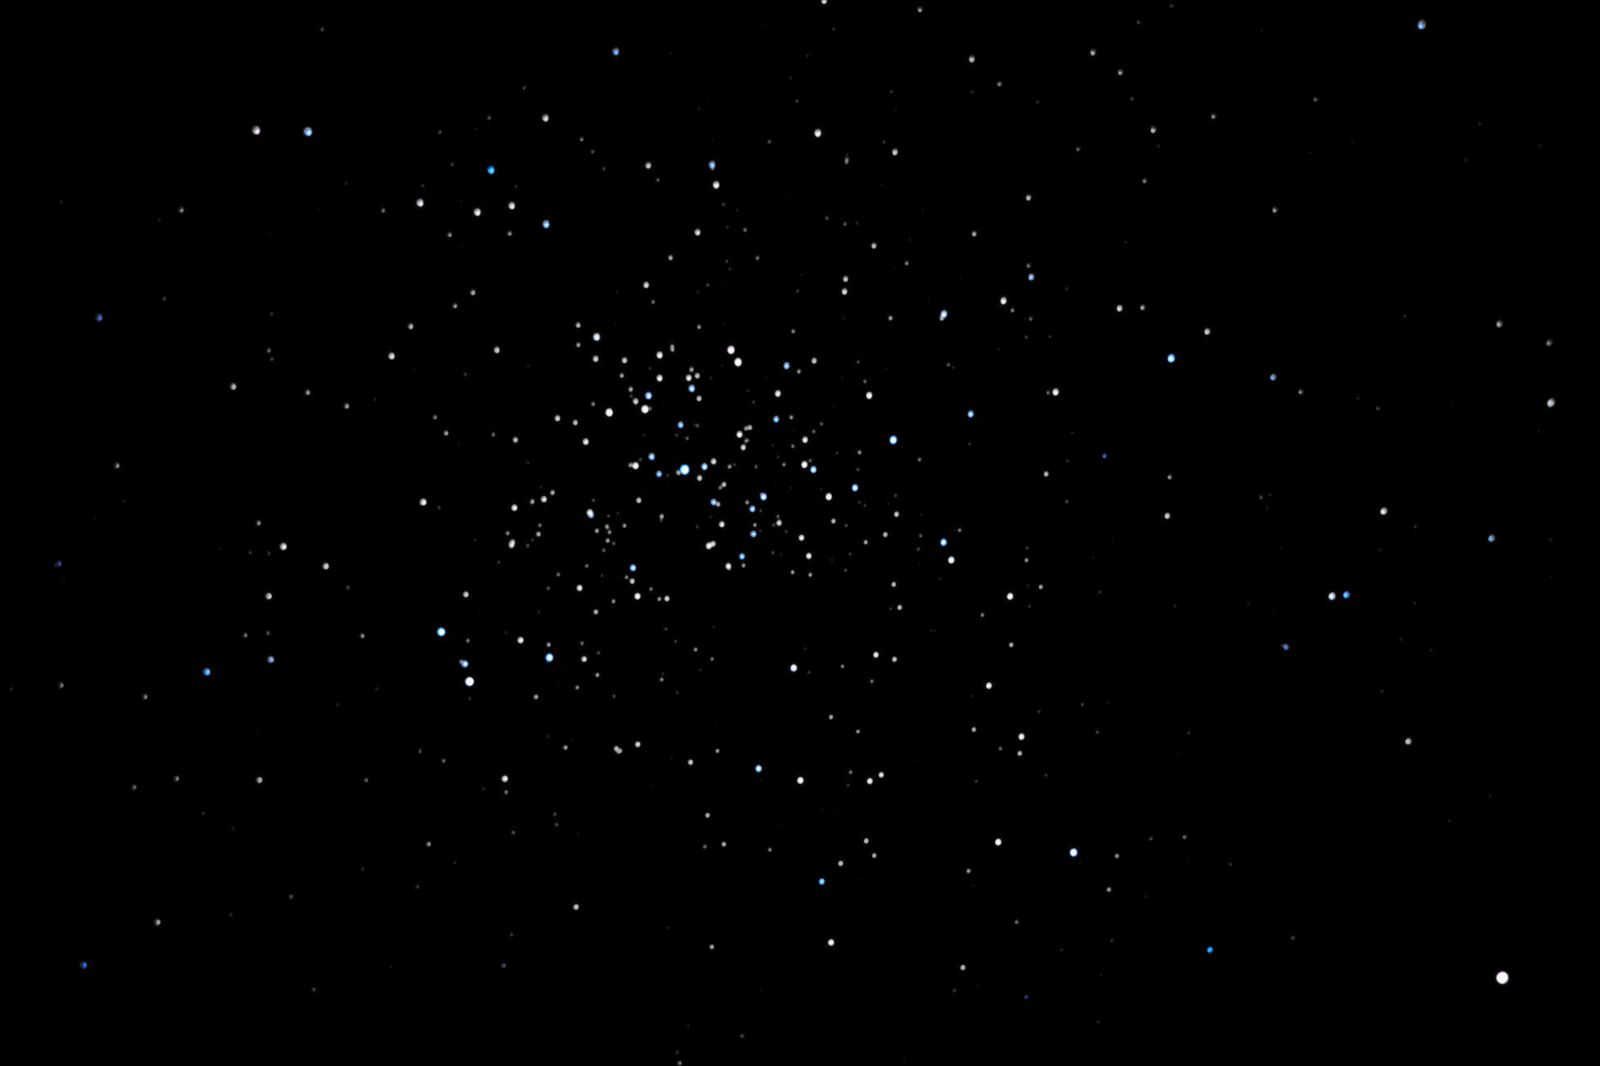
Whoops! Sorry I forgot to give details. M37, just a follow on from my earlier post.
Eric.
-
Had another go with the output from DSS, applied a few filters to try and bring out a bit more colour.
-
1
-
-
Read this section with great interest. Recently bought a Celestron Evolution 8 for visual use, but couldn't resist trying out my old Canon 400D on the back of it. Bought an intervalometer off ebay for £8.50, hooked the camera up (no modifications) and gave it a go. No focal reducers, so shot at f10, iso 400. 60 frames of 20secs, 15 darks, flats and bias. Pushed it all through DSS and fiddled about with it using Affinity Photo (good photo prog on Mac).
It isn't going to win any prizes, but it's amazing how excited you can get when you see your first efforts rewarded with a non blank image!

-
1
-


3D Printers
in DIY Astronomer
Posted
I enjoyed making it and getting it up and running. Like all slit spectroscopes it takes a bit of practice to use it effectively, but once you do, it works well. I haven't yet bought a 1800 line grating, they are about £120 (I think), but I'll do it when the piggy bank is ready.
Eric.