


malc-c
-
Posts
7,560 -
Joined
-
Last visited
-
Days Won
1
Content Type
Profiles
Forums
Gallery
Events
Blogs
Posts posted by malc-c
-
-
Off to screwfix this weekend to get some of these
-
Tony, thanks
Gina, I was the same... whilst we may have six or eight hours of darkness, it always seems an annoyance that you loose time setting it up and breaking kit down... trust me having the ability to unlock a door, roll the roof back and then power up a PC and start observing is something that we will both enjoy. I'm just wondering what your thread post count will be when you finally cut the ribbon on your observatory's official opening day

-
Tony, trust me I'm glad you did.. it's not that much of a problem, and as you mentioned better now than when it's too late.
To be honest, at SGL6 this was far from my mind. In fact, having just got my scope I wasn't sure if this was going to be another one of those flash in the pan hobbies where it ends up gathering dust in the corner. I had two wonderful inspiration moments, one being SGL6 where the enthusiasm of fellow members inspired me so much (as did the clear skies), and then spending two wonderful nights in succession at Easter when I captured my first galaxy with my Canon 400D. It was being nagged at on the 3rd day for waking everyone up at 3am when I was bringing the scope in each night... that then prompted the suggestion to build an observatory. At that point though I never envisaged something quite like what I've ended up with. Yes it's cost me best part of £1700 in materials and around a further £300 in extras, but then it's a fraction of what it would of cost to have a builder take on the job or to purchase something from Alexanders that matched the same specifications. Above all I've had (and still am having) fun putting this together, and I am proud at what I've done considering I've never undertaken something like this before. So I would be rather miffed if it all went pear shaped through my ignorance of not fitting a few air bricks, so thanks for the advice.
-
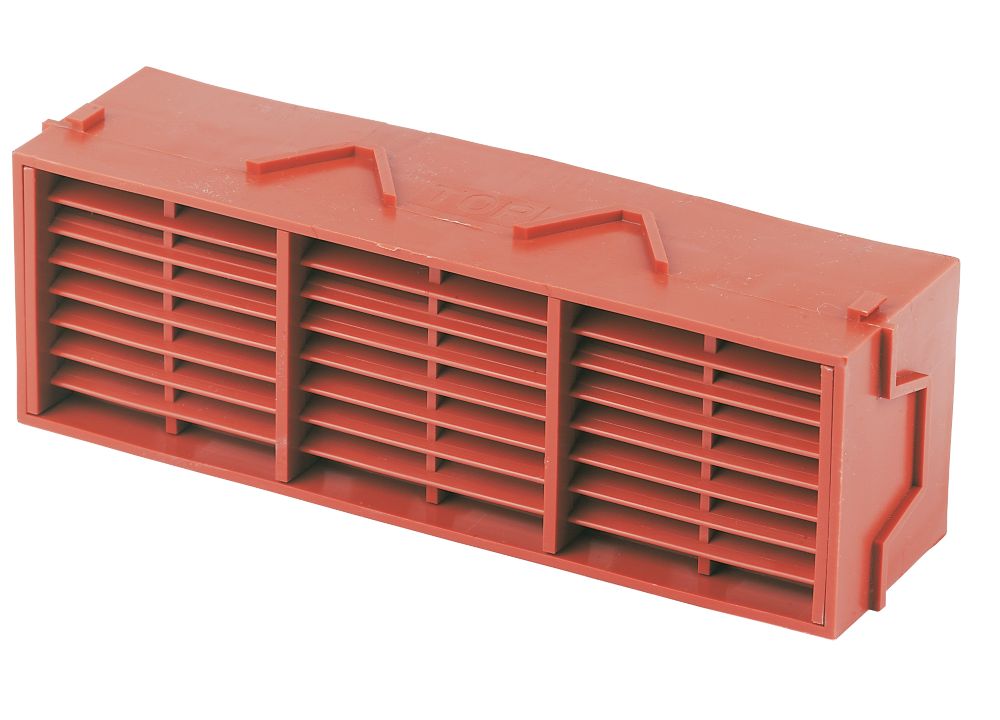
I'll get some air bricks this weekend and weather permitting chisel out the mortar around some of the existing bricks and replace them with air bricks. Probably two on either end walls, and three or four down the exposed long side, and at least one on the side next to the patio
-
there is another way to install ventilation without the mess and disruption of removing bricks, i`m no builder but what i`d do is grind out the perps, these are the vertical mortar joints, and fit weep vents, alot easier and less mess than removing the whole brick which could lossen other bricks, or just drill some holes in the mortar joints or even leave the perps with no joints.
here`s a link to a site that might help.
Thanks for the suggestions... can you check the link... there doesn't seem to be one
-
Sorry if I sound like I'm trying to teach granny to suck eggs.
Not at all. I'm welcome to suggestions, and to be fair, although the chap next door has been in the building / engineering game for years, I'm sure some of his comments are a little off track (like using 7" x 3" oak joists... would of been nice but a bit overkill !)
I'll get a few airbricks and put them in soon. I'll probably opt for a couple in each wall apart from the one next to the patio, which has limited access
-
Hi Malcolm, just been going back over this thread looking for ideas etc.
I did notice that I could not see any air bricks in the dwarf wall. Perhaps they are out of sight, or you have some other way of ventilating the cavity.
Good point. There are none !
I did mention this to my mentor, but nothing more was said so none have been fitted. I might remove a couple of bricks at the front and back and fit a couple of air bricks to aid venting...
-
Managed to do some basic alignment last night before the clouds rolled in at around midnight. It was the first real practice of putting the scope to bed and it took no time at all to secure the roof, turn the power off and lock the door behind me... as Spaceboy said, one of the advantages.
Here are a couple of images taken in the testing stage - so a bit of a birds nest with the wiring !


-
 1
1
-
-
Looking good so far, nice sturdy framework.
-
There are many advantages of an observatory. No setting up in the dark, somewhere to keep your scope with no worries of the kids or wife bumping in to it and next to no cool down needed meaning more time under the stars. I'm sure you will soon reap the rewards of all your efforts and for many years to come with such a professional build. Has been a very interesting thread to follow and great job on the obsy Malcolm.
Thanks for the kind words... I must admit the support from the forum members has been fantastic.
I've had "fun" today... fighting a summer cold, I put together a desk and chair.. so the warm room is now looking really functional now... I've also pulled in the USB cable to the mount and a 12v line fed from a stabilized 13.8 volt PSU rated at 3A continuous 5A peak, so should have enough umph to drive everything
 I've still got to get the monitor for the SFF HP desktop I acquired ( one of the perks of working in IT.. I get to have my pick of any end of life equipment when it's due for disposal... a 3GH P4 with 4GB RAM - Ideal ) so I've used my netbook to test the connections and see if the EQDIR cable, webcam, focuser etc all works, which I'm pleased to say it does
 So now need a few clear nights so I can sort out the alignment, purchase and install a few extra cupboard units and then the observatory is well and truly open
I'm really proud of what I've achieved in just over two months.. its been hard and hot grafting but I am really pleased with the end result. I'll post up a few pictures when the fitting out is finally completed, and when I've sorted out a nice tidy way of dealing with all the cables around the pier...
-
Wayne, the clip is used as a tube ring to allow rotation without sliping down
-
I'm letting the scope cool, and then will try out some polar alignment later as the clouds seem to be clearing...
Spoke too soon - by the time I uploaded that post and had a cuppa the cloud has thickened...
Oh well, there will be other nights.
Thanks for the comments.. and I must admit the scope does look good on the mount
Hoping to work out the cutting list and get some contiboard cut tomorrow to make the desk and a cupboard unit. Then fit the turnbuckles to the ROR to make that secure when closed and then I can install the scope permanently and start the real fun of wiring the lot up
-
Tonight was the first time in the past week I've had available to continue with the project. I got home from work and fitted the insulation into the dividing wall and lined that with ply.
Then it was a tidy up and a dry fit of the mount and tube to check clearances... pleased to say that everything has worked out as planned
(more luck than judgment !) I'm letting the scope cool, and then will try out some polar alignment later as the clouds seem to be clearing... I'm praying I have aligned the studding up correctly and using the sun as an indication for North at midday GMT has worked
Here's some images


-
1
-
-
Looking great Malcolm. Like the green, the same colour as my old DIY scope tubes! To be picky though, the walls do clash a bit with the floor; "blue and green should never be seen....", but I suppose your not planning on wearing it, so let's not quibble, eh! ;-)
I could hear my mother saying exactly the same thing, but then I was given the tiles, and thought the green would come out a bit darker... Both will look totally different under red light

-
I still have the smaller sealed unit, an may end up building another door to replace the current paneled door fitted, to give some natural light so the room can be used in the day time should I want to escape from the kids
Thing is though it would be one heavy door and would require some serious hinges ! -
Little update:
Last Monday we had our back door replaced and I asked the chap to leave behind the sealed glazing units as I wanted to re-cycle them
Last night the warm room had two coats of paint, purple was a bit too much, so I opted for a light pale green. Today the sliding door between the scope room and the warm room was constructed, incorporating the larger window unit from the old back door. This isn't quite finished as I still need to seal off the rollers top and bottom. I can then install the insulation in the dividing wall before lining it with what's left of the ply sheet. Murphy's law is that tonight looks like a good night for observing and the scope room is full of tools and ply sheet

The last thing I've done tonight is lay the carpet tiles and cut the skirting boards. Not sure if I'll paint them, or just give them a coat of clear varnish. The ceiling might get the same treatment... maybe.. All these sort of things can be done another time... I'm itching to get the desk unit made, scope room cleared and start actually using this observatory


-
1
-
-
Rich,
You can mix it a wheel barrow. 4 parts ballast to 1 part cement (ie 4 shovels of ballast to one cement). Make up a funnel from some card and use a bucket pour it down the tube. Then use a length of rebar or 2" x 1" ram it up and down in the tube to remove air and to make sure it reaches the bottom of the tube. Mix up the next batch and repeat until it's at the level you want, then having prepared your adapter or template with studded rod sink this into the concrete in the tube, giving it a wiggle to remove air and then line it up so your mount points North. Leave to cure
What you don't want to do is half fill the tube, then leave it and do the rest a few hours later, or worse still the next day. This will cause a weakness where the concrete becomes layered and doesn't bond.
-
Hi Malcolm, i never thought about using drainpipe. I want to use my pier for imaging, so i'm not sure if it would be thick enough for a an imaging platform. i've read a few places that a pier for imaging should be at least about 6"+ diameter but preferably 8" or more diameter..
Rich,
You can get 200mm (8") pipe 200mm Ø 3m Single Socket Pipe - P/DL195
Trust me, even the 160mm diameter pipe, once filled with concrete and re-bar is solid enough... if you want larger then others have used stainless steel air-con pipe 12" in diameter... there's lots of options out there, and all make for solid piers
-
Steel or concrete, they work out about the same price to construct if you shop around. The only thing to remember is that whilst the plastic tube and concrete is cheap, you still need to make (or have made) some form of adapter to take the mount. The pier for my observatory that I'm constructing used 160mm plastic drain pipe, rebar, and approx a barrow and a half load of concrete, cost approx £20 - £22.. The adapter cost me £95 including the anodising.

-
You could always try Purple, to match the mount!
LOL - now there's a thought... we have some deep lilac left over from when we decorated the girls room
-
Hopefully you should now have a scroll bar on the menu section... that's the problem when writing this stuff on a 1920 x 1080 HD display
-
Hi Kevin,
I'll take a look at the site to see why there is no scroll bar. What screen res are you running at??
The 1/12th house is ment to be my wifes project, but I seem to of done most of what you see there, she just sets the tables and dresses the rooms
- We've not done much to that recently, probably dropped off around the time I got my scope I must admit I do wonder how I've managed to do all this stuff, and hold down a full time job that has a 43hr week ! - getting up at 5am most mornings probably has something to do with it !!
It's been a productive day. I've spent the morning fixing the leak. The problem was a slight overlap of the shiplap caused the water to puddle and not drain off, this then crept up the 5" overlap of the felt and dribbled down the inside wall - sorted now. Then it was back to the lining of the warm room, and pleased to say that I have all three main walls done, plus the ceiling. I now need to build the internal door before I can line the dividing wall and complete this phase of the build. I now also have mains power in the warm room

I'm off to wickes tomorrow to get some paint... I know that most people pain their rooms black, but I want something a bit lighter, probably a pale green or something similar

-
With all these heavy showers we're having (peaked at 14mm per hour) it has been a testing time for my observatory build, and it found a small weakness with a small dribble appearing in one corner of the warm room. It's really hardly worth worrying about but when things dry up I'll go up and take a look and fix it.
Today has been spent inside the observatory, running in the electric cables for the sockets and light, and installing the insulation in the walls. Must admit, having gone for the cheapest polystyrene based product there was a lot of mess ! The non functional patio light was removed and the armored cable re-directed into the observatory. The previous owner has this cable terminated with a plug which plugs into a socket in the brick shed, but as this shed will be having the electrics overhauled as part of the project, the cable will be connected via a garage consumer unit.
I managed to get one wall lined with ply before calling it a day... hopefully the weather will be better tomorrow and I'll get the rest of the lining done, and sockets fitted, having first fixed that small leak.


-
Thanks for the comments Alan.
No I'm not in the building trade, and I don't know about enthusiastic, but I can turn my hand to most DIY things. To be honest up until this project I had never laid a brick in my life before. I had help an guidance on that, with my neighbor laying the 1st course so it was all square and level. From then on it was quite simple
As for the carpentry skills, if you break it down into simple steps it's really quite easy. Just use a chop saw to keep all the edges square and then screw the timber together to make frames. Make a second frame in the same way and then bolt them together... repeat that and you have full frame..
The pier had rebar hammered into the ground and then concrete was poured into the tube. Then the three 500mm lengths of threaded rod (with ends bent) were bolted to the bottom plate of the pier head and sunk into the concrete. The nuts on the studding between the bottom plate and top plate of the pier head allow the top plate to be leveled - all works very well to give a level platform for the EQ5 mount


Observatory Build Underway
in DIY Observatories
Posted
OK getting this thread back on track, here is an update.
I've finally managed to assemble all the conti-board I had cut a couple of weeks ago before I came down with that bug. I now have some storage cupboards, and a place for the kettle and microwave
I've still got some of the niggles to sort out, such as some red lights in the observatory section, a decent red LED clock, and those airbricks, but other than that "Coleview Observatory" as named by my wife is complete.
Costings, well I went a little over budget, mainly due to the quality shiplap, and the fact that I didn't shop around for some of the smaller items like joist hangers, nails, screws etc... buying these from B&Q or Wickes probably added £100 - £150 more to the build than pricing up from the internet. - Still, as I've said it came in cheaper than anything commercially of the same specification. - Total price for materials £1850, Grand total (including tool hire charges, slave labor, telescope pier with adapter, and fitting out the warm room) £2219. - so £150 over on materials and £70 over on the fittings...
I've yet to sort out the scope alignment, and I may end up spending a further £50 on some of that foam flooring to protect anything that gets dropped and also to deaden the sound of footsteps when walking round the scope when the night is still ! But that will be on-going upgrades and wasn't part of the original build.