


DIY Solar viewing filter housing

Entry posted by Nova
851 views
I recently purchased a sheet of Baader astro solar film to try my hand at some solar viewing and along with a friend have been playing around with different ways to mount it to the scope safely and effectively. Ill use this blog as kind of a "how to" to show you, the reader how we went about making a simple filter attachment for the small 40mm aperture hole on the front of my 150P using some ply wood, glue and a few screws.
To start I cut 3 75mm cicles out of some 6mm ply wood
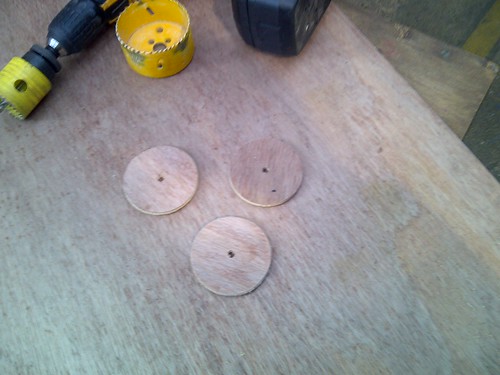
solar filter 1 by NightSkySteve, on Flickr
As an alternative you could use thicker ply wood but this is all I had in the store.
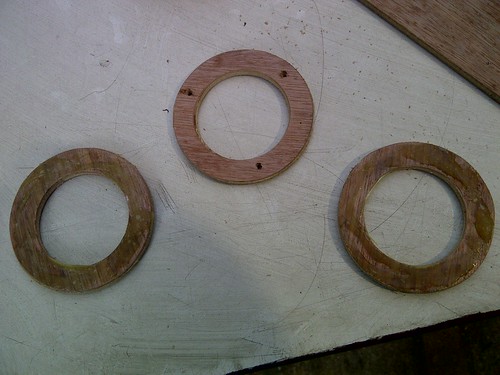
I then cut 46mm holes through the 3 75mm circles.

solar filter 2 by NightSkySteve, on Flickr
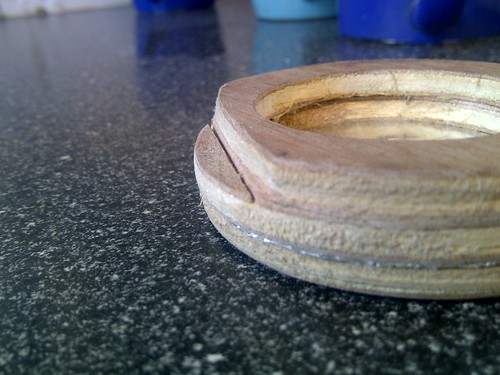
I then glued 2 of the doughnut's together using contact adhesive to give me the required depth (here you could use thicker ply if available negating the need for glue) and drilled 3 pilot holes in the 3rd doughnut.
Solar filter 3 by NightSkySteve, on Flickr
This left me with 2 doughnuts. 1 at 6mm depth with the pilot holes and the another 12mm deep.
Using the doughnuts as a template I cut a square of solar film large enough to cover the full 75mm diameter
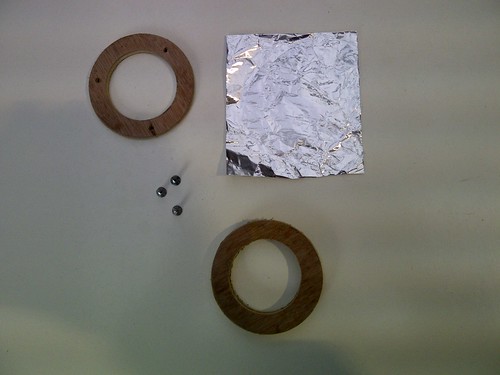
solar filter 4 by NightSkySteve, on Flickr
Sandwiching the solar film between the 2 doughnuts I screwed the top piece right through the film and into the wood behind and trimmed of the excess solar film
solar filter 5 by NightSkySteve, on Flickr
I had to cut a notch out of the filter to allow for the raised lip around my scope end cover. This allowed the filter to sit over the 40mm hole flat
solar filter 7 by NightSkySteve, on Flickr
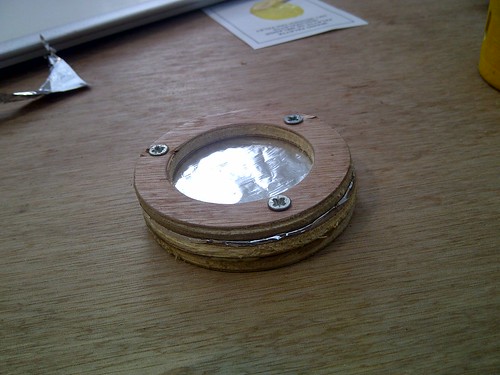
And here is the finished article. The 46mm internal diameter ensures a nice snug and tight fit over the hole. I will have to keep an eye on the fit as it may become loose over time through use and im looking at perhaps making a MkII out of nylon. Another safety feature im also considering is a bolt that runs right through the filter and end cover so the whole lot is bolted together.
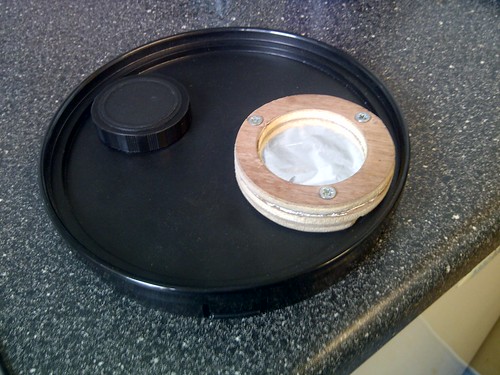
solar filter 8 by NightSkySteve, on Flickr
All im waiting for now is some sunshine to test it (without scope first) to ensure no light is getting in around the filter. I may cover the surface of the filter if any unfiltered light is visible but initial tests using a big LED torch look good and I cant see any light getting in. Its very much a work in progress and im open to any improvement ideas or safety concearns that anyone has. Thanks for reading
5 Comments
Recommended Comments
Create an account or sign in to comment
You need to be a member in order to leave a comment
Create an account
Sign up for a new account in our community. It's easy!
Register a new accountSign in
Already have an account? Sign in here.
Sign In Now