


jager945
-
Posts
96 -
Joined
-
Last visited
Content Type
Profiles
Forums
Gallery
Events
Blogs
Posts posted by jager945
-
-
Thank you for uploading the dataset. It is much appreciated.
I don't see anything immediately problematic, that would have prevented you from achieving the same result in StarTools only. The dataset is fairly bright, almost as if it has been pre-stretched and is no longer linear. I could be entirely wrong here though.
Regardless, here is a simple workflow that was meant to emulate the coloring and result you produced and - presumably - are happy with. Simultaneously, it should hopefully demonstrate the major reason why you would want to include StarTools in your wokflow; superior noise mitigation and signal fidelity.
If time vs result is a measure you are primarily concerned with then processing the image took ~10 minutes on a 6-core Xeon from 2010 with an SSD drive. Your mileage may vary obviously depending on hardware and how comfortable you are with operating the software. However, many default parameters and presets applied. StarTools 1.4.352 was used.
--- Auto Develop
To see what we're working with.
We can see the image is quite bright, has a strong green bias + severe gradients, and is oversampled.
Noise is already visible. Some stacking artifacts are visible.
--- Bin
To convert oversampling into noise reduction.
Parameter [Scale] set to [(scale/noise reduction 50.00%)/(400.00%)/(+2.00 bits)]
Image size is now 2329 x 1782
--- Crop
To remove stacking artifacts and frame the galaxy better.
Parameter [X1] set to [97 pixels]
Parameter [Y1] set to [79 pixels]
Parameter [X2] set to [2180 pixels (-149)]
Parameter [Y2] set to [1711 pixels (-71)]
Image size is now 2083 x 1632
--- Wipe
Vignetting preset.
Parameter [Dark Anomaly Filter] set to [6 pixels] in order to help Wipe ignore dark noise better.
--- Auto Develop
We're doing a 2-stage stretch here to achieve a similar stretch to your current image.
Parameter [Ignore Fine Detail <] set to [3.3 pixels] to make AutoDev ignore noise
Parameter [Outside RoI Influence] set to [5 %]
Parameter [RoI X1] set to [755 pixels]
Parameter [RoI Y1] set to [568 pixels]
Parameter [RoI X2] set to [1336 pixels (-747)]
Parameter [RoI Y2] set to [998 pixels (-634)]
--- Develop
Second stage, bring brightness down again.
Parameter [Gamma] set to [0.58]
--- Deconvolution
Attempting some modest deconvolution. The earlier binning will have created some small areas that now have a high enough signal-to-noise ratio.
Parameter [Radius] set to [2.6 pixels]
--- HDR
Reveal preset.
Totally optional, but demonstrates the value of having these sorts of local optimisation tools in your arsenal.
Parameter [Detail Size Range] set to [1000 pixels]
Parameter [Strength] set to [1.7]
--- Color
Final color calibration, emulating the style of your current image.
Parameter [Style] set to [Artistic, Not Detail Aware]
Parameter [Dark Saturation] set to [2.00]
Parameter [Bright Saturation] set to [2.30]
Parameter [Saturation Amount] set to [365 %]
Parameter [Blue Bias Reduce] set to [1.01]
Parameter [Green Bias Reduce] set to [1.09]
Parameter [Red Bias Reduce] set to [1.42]
--- Develop
I noticed you prefer a pedestal in your background.
Parameter [Skyglow] set to [4 %]
--- Wavelet De-Noise
Final noise reduction - StarTools has now had the longest time to track (see Tracking feature) noise propagation and is ready to autonomously snuff noise out with per-pixel accuracy.
Default parameters, except parameter [Smoothness] set to [82 %]After this short workflow, you should hopefully end up with this;

Any questions, do let me know! I hope this short example has helped demonstrate the value of using StarTools in your current workflow, or at the very least demonstrates StarTools to be capable (and lower cost) alternative to other software.
Clear skies,
-
 4
4
-
-
43 minutes ago, cotak said:
Just a matter of time vs results.
I find the results from ST to be more pastel colored than with just APP + PS. Since I will do final touch up in PS, and APP has more control over its faster gradient removal tool. There is very little reason to go into ST at all.
Thank you for the explanation. I'm still holding out hope there this may just be a simple understanding or maybe you are confusing StarTools with another application or action sets for PS?
In the case you are indeed talking about StarTools, something appears to be terribly wrong. Have you ever processed an image from start to finish in StarTools in the past, or have you been using it for just one or two features?
With regards to coloring, it appears you may have missed the Style and LRGB Method Emulation settings and/or the Saturation Amount slider in the Color module? If you don't like the default Color Constancy rendering style, it's a single click to change it to the style of other applications (e.g those of PI or APP) or even effortlessly emulate the LRGB compositing styles/techniques of Kredner/Kanevsky or Gendler with another click. Color calibration can only be performed on linear data, so perhaps that's where things are going wrong?
Are you are aware StarTools performs other - for astrophotography - useful things like deconvolution, local contrast optimisation, local dynamic range optimisation, wavelet sharpening, color constancy and more, none of which are currently - by my knowledge - offered by either PS or APP? Are you familiar with ST's noise propagation Tracking feature?
You are certainly not obliged to do so, but if you wish to share your dataset/stack with me, I'd love to prove StarTools' worth in your workflow. Indeed, especially in the area of noise mitigation, the present image may benefit greatly. Depending how challenging the gradients are, Wipe may also be able to clean up the red and green gradient remnants currently visible in the background.
Do let me know!
-
1
-
-
On 23/06/2019 at 22:43, cotak said:
In this case it is the difference between APP and DSS+startools. Which is why I wouldn't recommend anyone use ST today.
Otherwise it's the same camera and LP filter.
Hi,
I'd love to know why you wouldn't recommend anyone use StarTools any longer? Is there a dataset you are having trouble with? (happy to do a personalised tutorial if so!)
Thank you!
EDIT: I also noticed on astrobin the difference in exposure time between the two images is 5h50m for the new image vs just 1h15m for the old image?
-
2
-
-
@bottletopburly You're so right. It's kind of unfair for newbies; there is so much to tackle and if acquisition is poor, then post-processing is so much harder. It's a double whammy. What you did was the perfect approach; divide and conquer. i.e. decoupling learning post-processing from learning data acquisition.
Perhaps not a video/tutorial, but I thought I'd post this animated GIF here as well. It shows what the years of development between 1.3.5 and 1.4 (to be released soon) have yielded in terms of signal fidelity.
It's a 400% enlarged crop of a Jim Misti M8 Hydrogen-alpha dataset that has been intentionally non-linearly "mangled" to put Tracking through its paces.
Specifically, it has been stretched, Contrast enhanced, then linearly deconvolved (using Tracking time travel and precognition of future signal evolution), then noise reduced (also using Tracking).
Workflow, parameters and settings were kept identical between 1.3.5 and 1.4. The only difference is the algorithms in Decon and Denoise making increasingly more sophisticated use of the Tracking data/time travel over the years (with one unreleased quality bump applied here that hasn't been released yet).("Original" is signal as visible, without any Tracking-enabled modules applied yet)
-
2
-
-
Thanks for spreading the word! 😀
I'm really hoping the Tracking video helps people understand better what is so incredibly special about ST's processing engine vs traditional applications.
Tracking is actually where most of my time, efforts and R&D are spent. The "time-travel" of your signal is why StarTools can/should yield better results with the same data.
There are some significant improvements coming up to the Decon module (again!), making even better use of "future knowledge" about your signal.
I try to explain it on the website;
QuoteBecause in StarTools you initiate deconvolution at a later stage, the deconvolution module can take into account how you processed the image after the moment deconvolution should normally have been invoked (e.g. when the data was still linear). In a sense, the deconvolution module now has knowledge about a future it should normally never have been privy to (it certainly isn't in other applications). Specifically, that future tells it exactly how you stretched and modified every pixel after the time its job should have been done, including pixels' noise components.
You know what really loves per-pixel noise component statistics like these? Deconvolution regularization algorithms! A regularization algorithm suppresses the creation of artefacts caused by the deconvolution of - you guessed it - noise grain. Now that the deconvolution algorithm knows how noise grain will propagate in the "future", it can take that into account when applying deconvolution at the time when your data is still linear, thereby avoiding a grainy "future". It is like going back in time a week and telling yourself the lottery numbers to today's draw.
-
1
-
 2
2
-
-
15 hours ago, FaB-Bo-Peep said:
My stack comprises of Large JPEGS so I will need to make sure my DSLR is switched to RAW files for my next project and look at taking some flats. Just had another go this time using a 32 bit FITS file saved from DSS as apposed to a 16 bit TIFF, the file is much larger so must contain more data to start with yes?
Aha! That explains a lot
") JPEG is an 8-bit lossy image file format, where you camera applies all sorts of processing (stretching, color calibation, sharpening, sometimes noise reduction) before saving it to the card. You'll want to avoid all this. When processing this dataset, however, you can make use of StarTools' ability to "reverse" the stretch JPEG encoding applied (choose "Non-linear sRGB source" when opening the dataset), so at least you can work with somewhat linear data. StarTools' modules should then do a better job across the board.
JPEG is an 8-bit lossy image file format, where you camera applies all sorts of processing (stretching, color calibation, sharpening, sometimes noise reduction) before saving it to the card. You'll want to avoid all this. When processing this dataset, however, you can make use of StarTools' ability to "reverse" the stretch JPEG encoding applied (choose "Non-linear sRGB source" when opening the dataset), so at least you can work with somewhat linear data. StarTools' modules should then do a better job across the board.
Honestly though, when you manage to grab signal like this in mere lossy 8-bit JPEGs, this bodes very well for your future endeavours!
Saving as FITS is the favourite format when it comes to astrophotography datasets, as it is "philosophically" much closer to scientific instrument data, and virtually never used for finished images meant for human consumption. Because you stacked 8-bit JPEGs you probably won't see any fidelity gains using 32-bit FITS, but using a 32-bit FITS file format (Integer is best) for your datasets is good practice.
QuoteTo me it looks like another step in the right direction but it's all subjective and as each time I process in Startools I'm using slightly different settings, tweaks and the masks so obviously it's impossible to exactly replicate previous results, someone could go mad with all this tweaking, does anyone ever truly finish an image?
You can find all the steps you took in a file called StarTools.log (should be in the same folder as the executables), so you can precisely replicate them if you need to. As of the 1.4.x beta versions, it also stores the masks in that file, so you can recover them too. They are stored in BASE64 format and look like long text strings. For more info on how to convert these strings back to PNGs you can import as masks, have a look on the StarTools website. (I'm the author of StarTools, therefore I don't think it's appropriate to "spam" direct links to my own website, but it should be easy to find)
Getting "closure" on an image becomes easier once you get to know you gear and the characteristics of the datasets you produce with it. You'll start getting a sense of what you "can get away with", how far you can push things, but also - and that's what this hobby is all about - your personal tastes. Also not unimportant - to some - is being able to document and replicate faithfully the physical & chemical properties of the objects you are imaging. Emissions, reflections, temperatures, shockwaves, tidal tails. All objects have a story; a past, a present, a future.
-
1
-
-
Hi,
I can't be totally sure, but it appears to me the dataset has already been non-linearly stretched. If this is the case then, some things like light pollution/gradient removal, color calibration and deconvolution cannot be performed correctly (from a mathematical point of view). StarTools, especially, is sensitive to this, as much of the processing engine effectiveness hinges on being able to reliably track signal evolution from linear source (e.g. 1-to-1 photon counts) to final processed image.
When you save the DSS result, try saving with settings "embedded" rather than "applied". This should give you a dataset that is linear. If you already did this, then the problem may lie somewhere else; be sure to stack only RAW files (e.g. CR2, NEF or ARW files), and do not use any intermediary programs before passing the frames to DSS. And, as everyone else already commented; flats, flats, flats! 😀 They are the single most effective way of improving your datasets (with dithering between frames a close second). Best of all, it's free (just a bit of effort).
Still, nicely done though; galaxies are not easy to capture from a light-polluted environment, and you've actually managed to capture the faint tidal tail! (problem of course is that gradients and unevenness can look like tidal tails as well, that's why flats are so important; they remove the need to engage in subjective processing trickery and let the dataset speak for itself)
Good stuff!
-
1
-
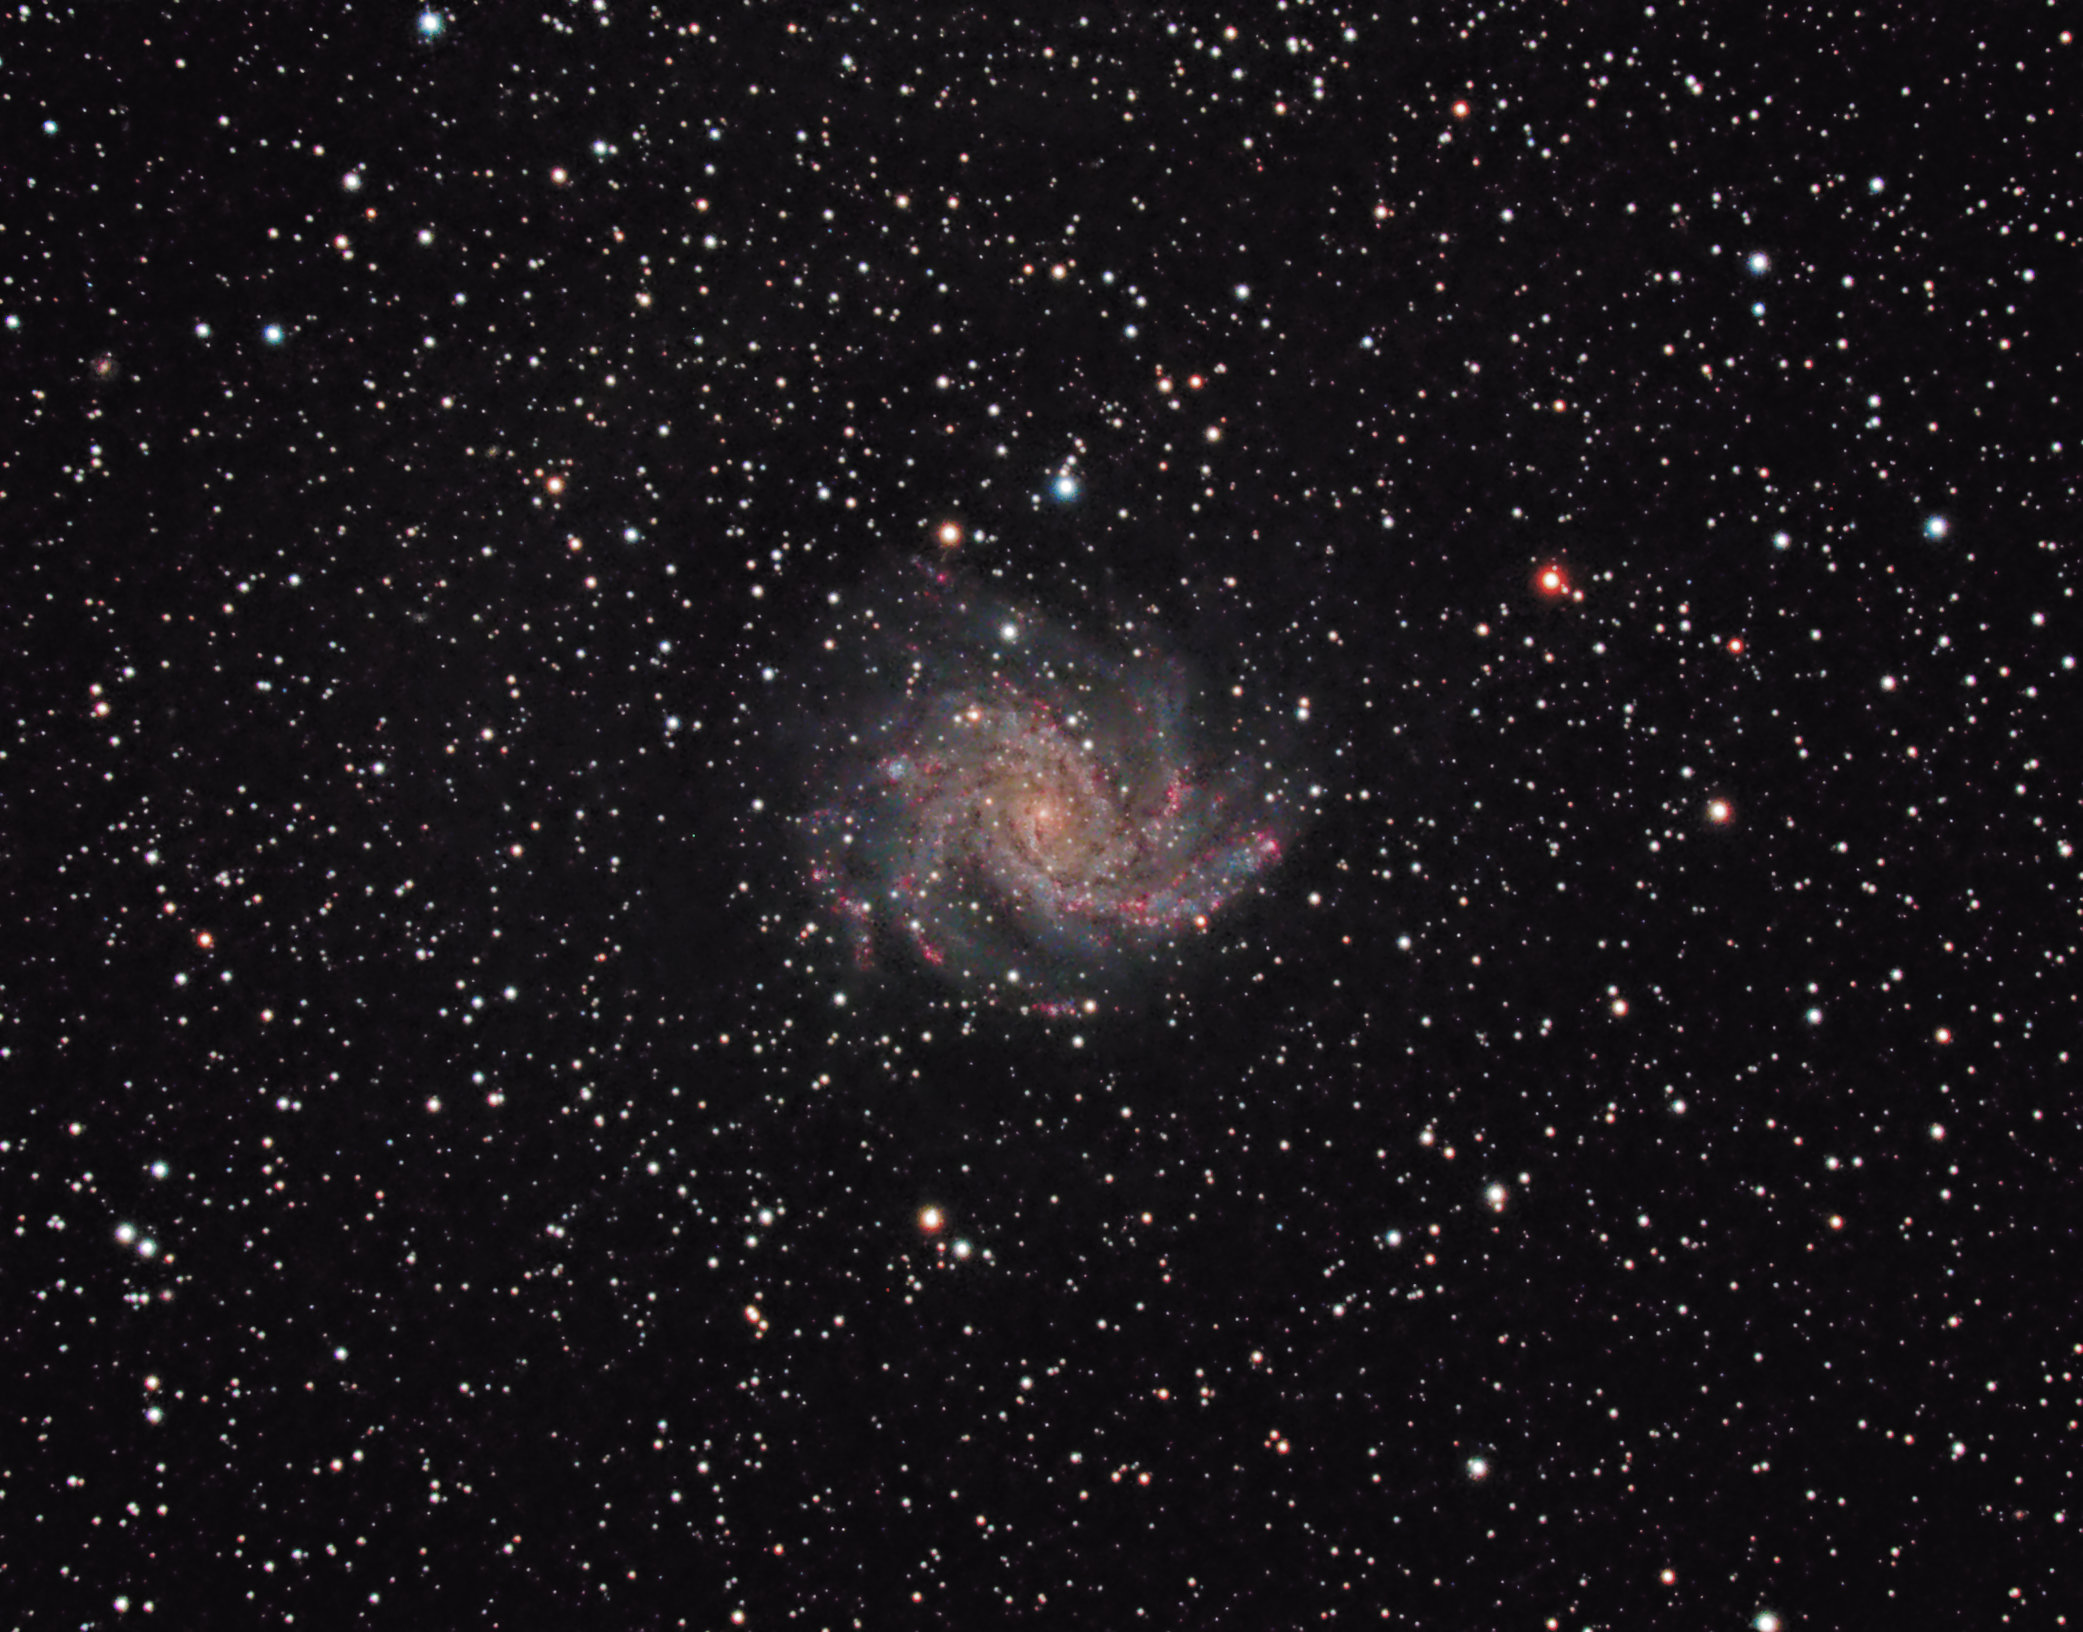


Fireworks again
in Imaging - Deep Sky
Posted
No problem - at the end of the day it's all about what gives you the result you are most happy with!
While it is of course futile to argue aesthetics, it is important to understand that noise and signal fidelity are physical properties of a dataset (as well as its intermediate states towards a final image). Workflows, tools and filters all affect noise propagation in different ways as you process your image. Noise and noise propagation, in turn, directly affect how much you can push a dataset; as you know it is far easier to dig out more detail with a cleaner dataset and signal. For that same reason, we endeavor to get longer exposure times - so we can show more detail. Us deep sky AP'ers deal with very faint signal. Noise is the bane of our existence.
Noise mitigation is an extremely important part of signal processing. The speckles are just a visual manifestation, whose presence can indeed be left to personal taste. However its mathematical significance is omnipresent with far reaching consequences for the effectiveness of processing steps and their cumulative behavior.
TL;DR Noise mitigation strategies employed by your software and its algorithms while you process, allow you to dig out more detail in your final image - it's not just about leaving or removing the speckles in your final image.
Glad it helped someone! There is actually a 'home in' button that, once clicked a few times, will bounce between a range suitable for your image.
Personally, I rarely use the Develop module (I use AutoDev with an RoI instead), except in cases where I really need to correct something or where AutoDev fails entirely. The latter can happen in the presence of noise, or when data was already stretched prior (AutoDev assumes a linear dataset).
Clear skies,