


tony
-
Posts
513 -
Joined
-
Last visited
-
Days Won
1
Content Type
Profiles
Forums
Gallery
Events
Blogs
Posts posted by tony
-
-
First post in quite a while, New obsy sort of up and running but I've still got quite a bit of old unprocessed data I'd like to get out the way, yes I know🤫 but I never got round to processing quite a few images, data for this was captured March 2015.
5 hours 40 mins in 20 min sub-exposures with Astrodon 3nm Hydrogen Alpha filter.
Astrobin Technical card
https://astrob.in/8s1k6d/0/
-
 5
5
-
-
Just to give this post a bump, I've just sent an email to my local council regarding a lamp over the road, I will post their response if and when I get one.

-
 1
1
-
-
4 hours ago, JeremyS said:
How come people are waiting so long to share pics of their lovely new kit?
🤣😝 Had to wait till I had everything of course😆
-
2
-
-
Had this last Thursday, the FLT132. Its a biggy compared to my GT81.
-
15
-
-
Had these delivered before xmas, EQ6-R Pro, mount hub prov4 and the HitecAstro Weather thingy😄and the QSI6120.
-
11
-
-
Obsy number 2 will be underway soon and this time I want to have the roof fully automated with one of those sliding gate motors so it can he controlled with Sgpro, so I'm asking is there a particular motor that people use as there's quite a few out there with varying prices, also how do you get it working with Sgpro because I assume its not going to be plug and play. Your input will be very much appreciated.
TIA, Tony.
-
On 09/09/2021 at 21:42, Mark at Beaufort said:
Yes well done Tony.Also have a look at page 20 there is an article on Herefordshire Astronomical Society with a photo of me in the middle holding a sample of Moon rock from Apollo 11 to 17.
Yes, I saw that. 👍
-
1
-
-
Appreciate the comments guys, thankyou.
-
On 26/08/2021 at 22:55, knightware2 said:
I got my copy in the mail today and found your picture on p 83. Very nice! It looks like you have a LOT of exposure time.
Congrats!
- Phyllis
Rosette or my mugshot?🤣
-
A nice surprise, didn't think it would get in but it did. (please excuse the mugshot😂)
-
31
-
-
Yes I know, the Rosette is long gone🤣 I've been just too busy to sit down at the pc and do any processing, but I've finally found the time over the last few weeks to actually get some processing done, I've spent ages on this, wasn't happy with how it was looking at first, maybe 4 or 5 different versions/colour combos.
Its been a long and steep learning curve on Pixinsight but thanks to the workshops that Ron and Warren did it made Pi a lot easier and I finally have an image I'm really happy with, may need a bit more n/r but other than that maybe🤔
Your comments and critique most welcome😬
10 hours Ha
8 hours OIII
8 hours SII
all 20min subs.Gear used-
Camera - QSI583WSG
Telescope - William Optics GT81
Guidecam - Starlight Express Lodestar
Mount - HEQ5PRO
Captured using SGPro
Processed in Pixinsight.-
26
-
-
Outstanding Peter, as mentioned before, stunning detail and colour 👌
-
 1
1
-
-
12 hours ago, astro mick said:
Very nice indeed.
Mick.
Thanks Mick.👍
-
On 29/12/2020 at 20:55, GiorgioF said:
Very nice! What about to use the Halpha as luminance to the RGB? A light touch,maybe?
It's definitely worth a go, thanks.👍
-
1
-
-
Not posted any images for a very long time, been busy and not really been able to spare much time to do any processing, although when the weather has been good I have been capturing. I'm getting to grips with pi slowly🤪, the workshops that Ron and Warren did were a big help.
Not sure on these myself, The Ha is 10 hours in 20min subs, I'm sure I could get more detail out but seem to be going round in circles, The SHO is 30x20 mins Ha, 16x20 mins in OIII and 16x20 mins SII, not sure on the colour combo🤔 and some RGB, and hour each of red and green and only 25 mins in blue.
-
16
-
-
Love that.👌
-
I like that, a belated merry xmas to you🙂and a happy(and clear) new year.
-
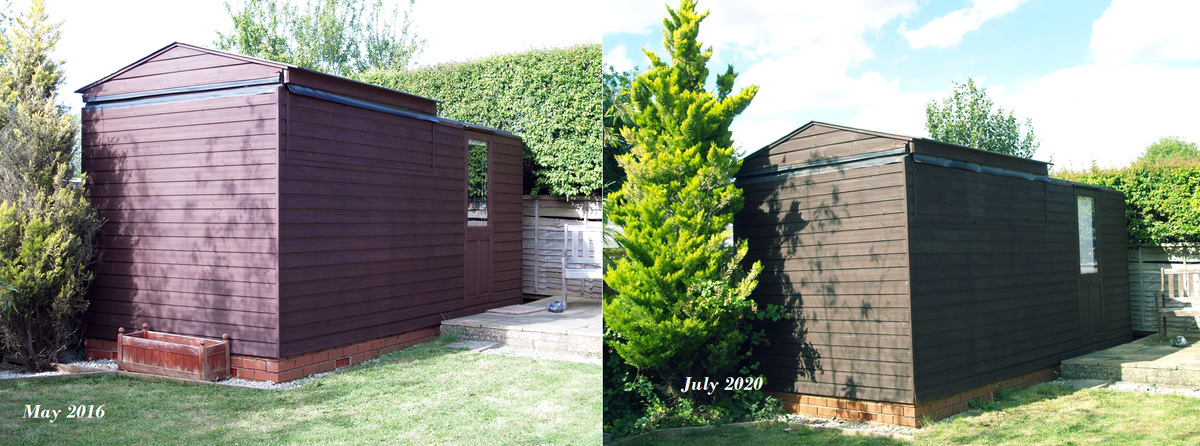
On 23/07/2020 at 21:10, malc-c said:
Just posted this yesterday on my build thread - still fully functional, although I tend to remote into the observatory PC from the lounge these days rather than sit in the "warm" room, especially as I've fitted a small workbench in there as well, so it doubles as a small workshop which can be isolated from the scope room
Pretty much the same here Malc, teamviewer to the pc in the kitchen or if its late and I leave it running overnight when I go to bed I use tv on the phone😊
-
Jees, this is almost 7 years old😲, so who, going back to around this time 7 years ago still has their obsy running?
-
having to put any progress on hold for the time being, been given the news this last week that i'll possibly be out of a job around next may as the company are relocating our part to slovakia
 . its not a definate as some will be moved to other areas. in the meantime the overtime is going to get a bit silly as they need to build up stock to have available whilst the transfer takes place.
hoping too i can go back to my old job.
anyway, i have the ceiling insulation to fit and ply and one more latch to the roof but that'll be it, still have a path to lay up to the obs and everything is here for that, just wont be spending anymore on it, at least its usable now i suppose.
-
Very nice building, Tony! Very nice, indeed. Don't you make a slope to the roof? I know you don't have heavy snow there, but you never know!...
doesnt look it but the roof is sloping, and dont get that much snow.
-
by the way, i did clean off the excess

-
Tony,
Can you indicate where bout's on the outside of the observatory those leaks are, I'm presuming that it's at the end where you have removed the cladding. Is it at the rear corner ? The reason I say that is because at the front, the cladding overlaps the brick work, making a natural run off, but at the rear by the fence it seems that the wall extends beyond the width of the observatory, so the rear cladding appears to be sitting flush with (or on top of ) the wall at the back. Maybe this is where water is puddling and being wicked up by the wood ?
front left in the pic malc but i found it,i think, on closer inspection i noticed it ever so slightly damp in the top right corner,(top left looking at the front) it appears that the water has run along under the track there and then down inside, and i though it wasnt running down lol.
anyway, roof fully opened and all 3 tracks unscrewed on the shed half and lifted to get a load of silicone under there
this is the centre track

and dropped back down

this should i hope prevent anymore getting back along, the other 2 timbers were a bit damp under the track so thats the reason for doing all 3, better safe than sorry.
we'll await the next lot of rain then

-
rain last night and the leak in the first of the two pics seems to be sorted, but not the second one.


Result regarding Street lighting
in The Astro Lounge
Posted · Edited by Cornelius Varley
background colour removed
I recently sent in a request for a shield to be fitted to the streetlight over the road, just got this response from the council. Result, so if anyone else got a similar problem it's worth contacting the council.
We currently have little to no stock of shields, with no chance of obtaining more due to the street lighting lanterns now being obsolete. We are reliant on our county wide LED lantern replacement program to return shields already fitted on the network for re-use. Unfortunately I am unable to provide any idea of timescale when this may be. You may find the lanterns you have identified get replaced before a shield/s becomes available. The new lanterns are optically better with less intrusive light spill and should a problem still persist, being new, shields are readily available. Please bear with us.
Once the streetlight number is confirmed, I will however raise a job in the system to instruct our contractor to fit a shield to the light, if/when one is available.
Additionally for information, we’ve recently had our policy approved by Cabinet to implement part-night operation of streetlighting and are in the process of confirming which areas can be switched off, starting with residential and rural. It is hoped we will be able to implement this before Spring.
If you have any further queries please do let me know.