Konkelo
-
Posts
13 -
Joined
-
Last visited
Content Type
Profiles
Forums
Gallery
Events
Blogs
Posts posted by Konkelo
-
-
On 16/12/2020 at 16:54, Tomatobro said:
Is there any information on the pro version out there? When I try to download it goes to the PayPal payment page first so would like to know a bit more about the pro version before committing. Anyone help?
Hi!
In https://www.meteotuxpi.com theres information in faq
-
What difference is between basic version of Meteotux PI and PRO version?
: Free version has limited max output image size to 2592x1952 pixels. See chart below.
: Options to remove logo and image flipping.
And there will be more options later

Cheers!
Konkelo
-
-
On 23/10/2020 at 19:00, bokser01 said:
Ok Thanks! So the -e 30000 and -e60000 is basically -e20000 (that's the max Meteotux PI can do with HQ camera) But that -g (gain) and the -d (stack duration) does the job here and looks good!
Cheers!
-
Oh WOW really impressive! What Meteotux PI options did you use?
Cheers!
-
-
12 hours ago, fozzybear said:
I think it is 30 euro's so where do you get 16,4£
Oh that was my typo

Cheers!
-
 1
1
-
-
13 hours ago, PlankWithANailIn said:
Why would i use this software over this one?
https://www.instructables.com/Wireless-All-Sky-Camera/
Its 100% free and comes with a nice web interface and is open source and works with other cameras.
There's also a version for the HD camera.
https://github.com/RobboRob/allsky
By stacked images you mean converting an image sequence to time lapse video or star trails video?
That software you found lose frames when capturing images. And looks like it needs a lot more time to install and get it to work compared to Meteotux PI when you only need that program and simply run it. But if you like to use web interface you should use it

And by stacked images Meteotux PI does it automatically. Here is one example of 10 minute image stack. Original image here
Command:
./meteotux_pi_pro -d 600 -e 10000 -g 5Cheers!
-
No i haven't. Will try it with my second HQ camera. Please post some images taken with Meteotux PI later when you make that setup and got some meteors etc..

Nice image!
Cheers!
-
Hi! Here's some new videos i have made with raspberry pi + raspberry pi HQ camera + Meteotux PI stacked images. Light pollution is high here but still got some nice results
Remember to check 1080p quality

Meteotux PI settings on videos above are .meteotux_pi -d 30 -e 10000 -g 3 -v
Cheers!
Konkelo -
-
 1
1
-
-
Hello!
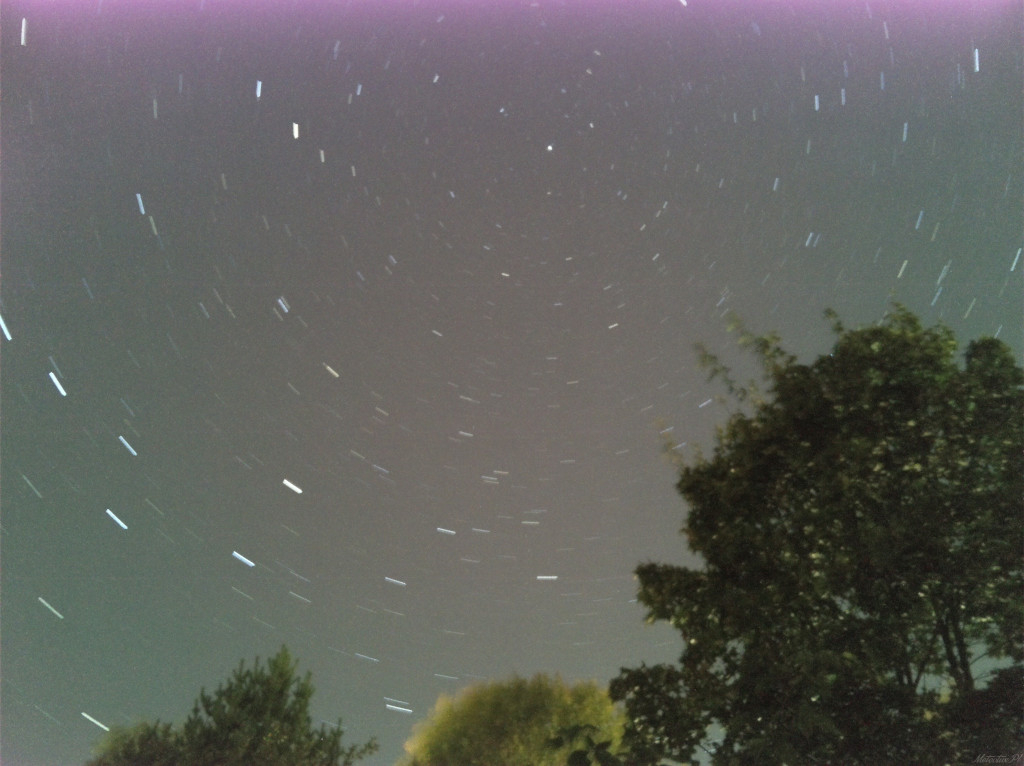
I made a star trails video from images some nights ago taken with Meteotux PI
Heres the last image from video. Image and video are cropped to 1024x768.
Cheers!
-
 2
2
-
-
Hi everyone!
Nice image pete! And i'am really happy to see that you can use IMX219 Camera Modules too with Meteotux PI!
Here in Finland it was raining whole night. But still got some images with stars! I'am using Raspberry HQ camera.
Heres one image. Had to crop it from 4064 x 3040 to fit here
 Link to original image
Cheers!
Konkelo
-
 2
2
-
-
Hi!
My friend Jani made a program to Raspberry Pi to capture night sky events with cheap hardware.
Meteotux Pi creates a stacked images and it doesn't lose frames doing it. For example taking 10 minute image or even 1 hour image that has every frame camera has captured the time period.
There is 2 versions of program one is free and has image resolution max size 2592 x 1952 pixels. With HQ camera and pro version you can get stunning 4064 x 3040 pixels. The cost of PRO version is 30€ (27£)
Check out his website here https://www.meteotuxpi.com
Here's one image with bright meteor taken from my DIY all sky camera with Raspberry Pi and HQ camera. https://drive.google.com/file/d/1zPUMY6VifSRwnt_gAr31yJHliqHsorbJ/view
Equipment cost was:
HQ camera 53£
raspberry pi zero w 9£
32gb micro sd card 17.5£
power adapter 9£
Acryl dome 18£
PVC pipe 9£Total cost 115£
Cheers!
Konkelo
-
 1
1
-


New Raspberry PI night sky software
in Discussions - Software
Posted · Edited by Konkelo
Hi!
Just a little update here. If you use Raspberry Pi OS (bullseye) and try to run Meteotux PIyou will get error Error: Camera maximum exposure time is 0 ms
To fix this you need to enable Legacy Camera support. Use sudo raspi-config select Interface Options and enable Legacy Camera support and after reboot Meteotux PI will run ok.
Cheers!