-
Posts
667 -
Joined
-
Last visited
Content Type
Profiles
Forums
Gallery
Events
Blogs
Posts posted by fifeskies
-
-
are you using the latest versions of APT and Stellarium
I upgraded both to latest stable versions and seems to run OK.
-
Sorry I cant help with those error messages
other than "try turning it off and on again" , but often that does work.
-
I always open and connect APT and PHD2 guiding first. Also do a Platesolve with a test target using APT. (And Sync mount to platesolve co-ordinates)
Then start Stellarium.
If I dont do that order I find Stellarium will not work properly , or places the scope target wrong.
Default opening has Scope Icon at Polaris , I use a custom park (horizontal) to fit my scope under my Roll of Roof.
APT seems to handle this recovering the Custom Park co-ordinates wheras Stellarium gets confused if opened first.
-
-
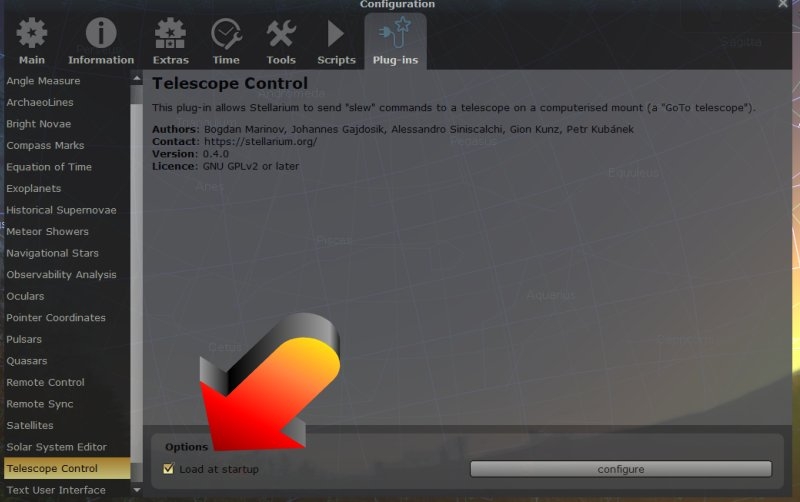
You do not need Stellariumscope in the latest versions of Stellarium , it has been integrated into the core program.
I sometimes find Ctrl +1 unresponsive , but after a few tries it seems to reset and work , no idea why , maybe don't hit the 1 too soon after ctrl
I have found allowing a second or so with ctrl down before hitting 1 usually makes the scope slew OK
-
 1
1
-
-
38 minutes ago, inFINNity Deck said:
(only when you hit it hard it trembles for a few seconds).
If you were to hit me hard I would probably tremble for a few seconds too 😜
That is one awesome pier, looks like it would fly if you filled it with fuel and lit it at the bottom.
-
 2
2
-
-
Yes , except that Polaris is near to but not actually the correct place to align the scope.
Set to Polaris will not give good tracking for very long exposures, but for visual should be good enough.
If getting into Astrophotography you will need a utility of some kind eg Sharpcap pro , to get exact alignment.
-
12 minutes ago, wimvb said:
So, how many dust particles does it take before performance is affected?
I guess its a mote point .............................. I'll get my coat.
Its unlikely a few odd dust specks make any real difference but if it's new they should not be there.
-
 3
3
-
-
-
-
A second monitor is a very good idea.
In fact I use 3 for my imaging.
1 main one for APT
1 for guiding with PHD2
1 for Stellarium and anything else , I have a live weather app monitoring local radar for incoming rain.
Any old monitor will do for this, I acquired some cheap 4:3 format old ones for 2 of them.
You can cram this via seperate windows onto one large monitor if it has enough resolution but individual screens works better for me.
-
 1
1
-
-
Using platesolving to frame your target is far superior to manual framing with the arrow controls.
In particular this is important for combining runs from different dates.
APT has many targets already in the object database and you can add your own.
This way you can set your scope to the exact same position you were at previously to gather more data at another time to improve your stacked image.
It is fairly easy to set up , just remember to download the platesolve databases appropriate to your imaging system.
The online guides explain the process.
It all works very easily with a little practise.
-
 1
1
-
-
That's not a bad result for just 30 mins of data on a first attempt.
You have captured the dust lanes so can see it is a Galaxy.
There is some coma on the stars top left and top right (ellipse shapes) , does your scope have a flattener.
-
 1
1
-
-
4 minutes ago, Desmond said:
I did grab a few quick frames of Andromeda (moonlight intrusion to the left) and noticed top right the strange artefact around one of the stars there. I have looked on way better images than mine and never seen that. I wonder if this is the dust? This was the first night out and this is when I saw the dust as I was checking the lens for dew.
Dust on the lens cell is way outside the focal plane and would be unlikely to create a localised effect on a small part of the image.
It would possibly cause some loss of clarity over the whole image due to diffraction effects but that artefact is most likely caused from something else as it is so localised
-
To be fair (to your wife) I think FLO were not holding stock of this scope and what was arriving was already allocated.
Other retailers could certainly do with raising there game to FLO levels.
-
 2
2
-
-
The dust needs to be much closer to the sensor to show up.
this is true , however a lot of large dust particles can cause some scatter and will degrade the sharpness of some of the brightest stars, you wont see the actual dust itself on the image but the effect can be there for long exposures.
A small amount of small dust dots will be largely invisible and not impact things significantly, so can be largely ignored
Lens clips in the cell can cause bright stars to show "vanes" , large non round dust particles can create similar unevenness with bright stars on longer exposures , anything like an eyelash on the lens could be a problem depending on the system
Sometimes attempting to clean light dust can actually make things worse and as tooth_dr has pointed out most of the time dust will not have any significant impact
-
When I started with GIMP I ran the tutorial in a small window pressing play and pause with each step I copied.
After a while it gets more familiar.
GIMP Astrophotography Editing Tutorial - YouTube
-
That's a fair amount of dust to be honest.
I would not be happy with that , I am into astrophotography and it would be a bother and impact photography (but can be processed out).
For visual use only it will not have significant impact, but still undesirable in a new scope.
If this was new any decent retailer would exchange it if there is stock available, but supply might be an issue just now.
Can you tell if this is between the elements or is it on the back of the lens cell , if it is between then there is no real remedy without full disassembly
If it is inside the OTA at the back of the cell then you can try blowing it out with an air duster on a long silicon tube, but it is likely to recirculate and land back on the glass. Maybe a vacuum hose on low power and an air duster together could remove it from inside the OTA
-
 1
1
-
-
-
Not all USB hubs are capable of sending enough power into the system to take an adapter of that kind so look carefully into the detailed spec of the hub you intend to use.
Mains powered hubs are usually able to do this , passive ones (that are USB powered from a computer USB socket) are usually not able to do this.
-
 1
1
-
 1
1
-
-
I remote my whole setup using USB over Cat6 , essentially it has a USB2 hub at the scope end for mount and my guide camera and DSLR.
Saving DSLR output to computer over the link works flawlessly, it takes a moment for the image to download across the link but that's all.
With APT running subs automatically I add a 15 second pause between exposures mainly to allow the sensor some cooling time. In this gap my image downloads. (in the first second or so)
The Startech system will allow a 50m cat 5/6 cable (or 100m with its expensive big brother)
-
 1
1
-
 1
1
-
-
The amount of watts the unit can supply does not matter as long as it meets the amount the equipment needs.
It is the voltage that can fry a mount. They are generally very happy in the 12v to 15v range and work best at a bit above 12 in general , many use 13,8v as there are a lot of amateur radio PSU that output this (and it is what a charged 12v battery will output).
I have a 13.8v 50 amp peak lab supply in my observatory (690 watts)
My Skywatcher mount does not take anything like this.
As long as the supply can give 2 or 3 amps (24 to 36 watts) it should be fine , a larger supply is usually better regulated and can power all sorts of extra stuff like cameras and dew heaters (and LED working lights).
Many people prefer linear supplies rather than the wall wart plug in type
-
 1
1
-
-
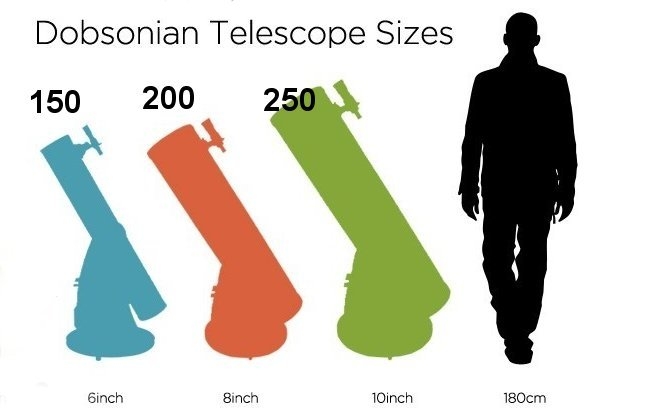
I have a 10 inch dob as well , though I now use it on an EQ pier.
I found that a right angle finder was a lot easier to use than the straight through one, I also used a Telrad with it and this was also very good.
Align the finder with the main scope during the day before first use at night, use something a few km away like a church spire.
That's a cute DIY dob , and it will still be handy to take out to dark sites , the 10 inch is less car friendly in that respect, but a flextube can still be transported without too much trouble compared to its fixed tube brother.
-
Its an excellent scope and though big it isnt so difficult to move around.
You might want to make a flat trolley for it so you can just wheel it out for use , there are examples on here of people who have made one up.
Basically a flat board with 3 wheels , 3 is best as it cant wobble on uneven ground.

Dob Dolly for Orion 4.5 10 inch Dobsonian Telescopes - Orion Telescopes - YouTube
Collimation isn't that difficult , you will soon be able to check it in about 5 to 10 minutes , look at uTube videos.
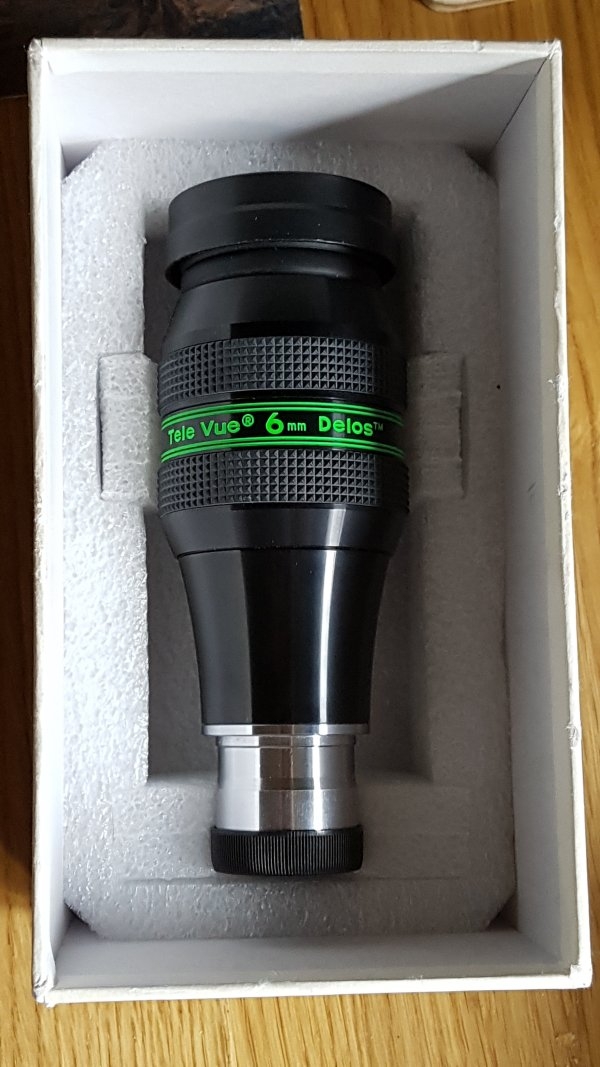
This scope can take some much better eyepieces than those supplied so once you get used to using it that is a good first upgrade


Ctrl + 1 not working in Sterallium
in Discussions - Software
Posted
I have a fixed system in my ROR observatory.
If you are taking down and resetting each session , take care to use the same USB ports as before or you may get comms errors when gear is not on the comms port it is expected to be found on.