


Stub Mandrel
-
Posts
10,662 -
Joined
-
Last visited
-
Days Won
32
Content Type
Profiles
Forums
Gallery
Events
Blogs
Posts posted by Stub Mandrel
-
-
24 minutes ago, Dan13 said:
I see a lot of threads saying the SW CC is to long for the focusser
Not sure about this, it's far shorter than the tube.
A lot of people shorten the focuser tube though.
-
30 minutes ago, Dan13 said:
not sure if im in the wrong place to post this but has anyone used this with the 130pds?
https://www.rothervalleyoptics.co.uk/baader-mpcc-multi-purpose-coma-corrector-mark-iii.html
Plenty of folks. Consensus seems to be that the Baader has better control of reflections of very bright stars, but is fussy about spacing - the Skywatcher is fit and forget.
-
Lovely pics Kevin.
Unfortunately it seems almost no-one is aware there are three grub screws around the base of the Skywatcher focuser, you can loosen the fixing screws and adjust the grub screws to change the tilt.
-
3 hours ago, Uranium235 said:
When it turns up, you will notice it has a grid pattern on the illuminated side. That will disappear once you put a few sheets of A4 on it - you probably need about 3 or 4 sheets to dim it sufficiently enough for lum flats on its lowest setting. For narrowband just hit the power key once or twice to increase the brightness (you have three levels). It runs fine for ages from a small powerbank
I used to use a single sheet of A4, but discovered that flats with an uncovered board work just as well because it is so far out of focus.
But I've noticed my habit of rotating the panel has created circular scratches that have created a bright ring so I'm going back to a single sheet of A4 chiefly as a protector.
-
7 hours ago, Thalestris24 said:
I never even bothered trying the rubbish aluminium tripod - put it straight on a HEQ5 one
")
Louise
I field mine with sand and fitted braces to it that improved it quite a bit, but getting a HEQ5 tripod was a worth it.
-
 1
1
-
-
2 hours ago, MylesGibson said:
Just to be clear, I wouldn't recommend an EQ3, even though I use them, and I wouldn't expect them to be recommended either. It's just when people tell you that a HEQ5 is the bare minimum and that you'll never get anything good with less. That's what frustrates me.
It surprising how many people will say that without ever having tried.
Now I have an HEQ5 I would say the biggest benefit is that computer control is simpler than with my homebrew system!
In practical terms the potential performance (payload) is similar enough, it's just a that the bigger mount is more tolerant of being out of adjustment.
Look what people achieve with a Star Adventurer and that's even more modest in spec than an EQ3.
-
2
-
-
23 hours ago, dave armeson said:
with a system Strehl of.0985
I would have hoped Intes could do a bit better than that?
-
 2
2
-
-
1 hour ago, johninderby said:
It’s back 🙂
The return of the little 1.25” crayford that I sold with a scope earlier this year. Had the chance to buy it back and so I did. Perfect for the Omegon 127 Mak. 👍🏻

Sweet!
-
5 minutes ago, tingting44 said:
3d printers seem to have gone up in price! over £400 for a clone prusa.....i think i paid £90 new for my anet a8 3d printer couple years back
If I was buying now I'd probably go for a Creality Ender which would work out cheaper than the kit I bought and much less than £400.
-
Interesting... my 10" is glued and gives a pretty good star test, although collimation was slightly off.
Another astrophotographer's reaction on seeing my vanes was to ask 'do you get trinity diffraction patterns' because he had them in the past. It does seem triangular apertures may produce the sort of shapes I saw. I need to repeat the exercise on a brighter star to get a clearer image.
-
I use one that looks identical. I think I got it of eBay. I use it at lowest setting, tell Sharpcap to make a flat from 64 frames but set the maximum capture rate to 2 frames per second. That gives me half a minute so I slowly rotate the panel through a full circle during the capture to ensure any gradient is cancelled out.
-
1 hour ago, Chriske said:
There's no way triangular shaped stars are produced by a spider Neil.
Look for tension somewhere in the optics.It can't be mirror pinch as it's glued at three points, the 'clips' don't actually grip it, just locate it centrally.
I wonder if it's a result of reflections inside the white tube combined with the shapes I've used.
... time passes ...
I've done some exploring online and the nearest image I could find was caused by secondary mirror clips... now I've glued the secoondary but when I removed it from the old holder under each of the clips was noticeable patch of grey blooming.
Before assuming the primary was distorted by its original mounting (unlikely with a mirror 6" diameter and 1" thick) I think I'll get the secondary recoated as well, it can wait a while as the effect is only going to be an issue if I was trying to split tight doubles.
-
Lessons learnt!
It's too easy to nudge the main mirror collimation knobs. This is true of most scopes, but most have lock screws. Also the secondary adjustment screws are menace when they protrude, tehy also mean a bhatinov mask would need a big hole in the centre.
So I'm doing the opposite of 'Bob's Knobs'. I've ordered long M5 grub screws for secondary adjustment. I will also use these to lock the primary adjustment, while adding circular 'guards' around the adjustment nuts that will also act as feet if standing the scope on end.
The joy of 3D printing is that if I had milled out some aluminium shapes it would be very hard to abandon things, but instead I can put £2 worth of PLA in the recycling (it would be nice to have a filament shredder/filament extruder!) and print again.
-
Tonight was first light for my new 3d printed 6" Newt. Details in the thread below!
-
2
-
-
14 minutes ago, tooth_dr said:
That’s awesome! Quick question - the focuser seems quite far racked out and the eyepiece quite a distance from the tube. Is this fixed and determined by the mirrors?
That's deliberate, I set it so the focal plane is about 1/2 from racked all the way out so it will focus all my EPs without intruding into the tube. This means there's 1 1/2" of backfocus available if I want to try it with a camera.
I just had ago, I was able to split Mizar easily, even at low mags, although with the 2.5 and 5mm it was pair of airy discs (more like triangles to be honest, I think that's affected by the spider).
There was no hope of galaxies with moonglow. I found M13 and although it was clearly quite big it was a faint patch of light grey on a pale grey background, so I packed up.
-
1
-
-
15 minutes ago, johninderby said:
Glad to see it has worked out. 👍🏻
Flocking or paint?
Probably a combination - I only have enough flock to do about 2/3 of the tube.
-
First Light tonight! Well the mirror I was very kindly given seems to be excellent.
Hard to collimate with my laser collimator as the dot is almost invisible on the freshly coated mirror!
I tried it with all my eyepieces on the moon. The 2.5mm UWA was usable (I can use it in my 10" scope, but my 6" x 1200mm scope doesn't like it), and it's the first time my cheap 4mm plossl has given a view worth looking at. Every other ep from 5mm to 40mm gave its best, although a few of the cheaper ones (especially the 8-24 zoom) showed CA or softness at the edges. The 18mm ortho was, as ever, outstanding giving a full disk view, the 5mm UWA was great going along the terminator. The ortho, cheap aspheric 23mm and longer plossls all showed a touch of colour - subtle blues and browns on the maria but surprisingly the 23mm aspheric which cost about £5 showed the colour best!
I'm sure contrast will get even better when painted/flocked inside!
Really very pleased. It perhaps isn't rigid enough to be a serious astrophotography scope but being between my 1200 and 590mm fl imaging newts it's an ideal visual scope at just over 900mm.
Going to see if I can find some galaxies now.
Definitely needs flocking... also temporary collimation screws
-
6
-
-
On 29/04/2020 at 19:10, Ships and Stars said:
Hi Miguel, it does, but it seems that perhaps an hour each side is still dark enough for a quick look through the scope. I'm near Aberdeen, so fairly far north. Last night we had 1.5hrs astro darkness, but after this moon phase, that will be gone until late August here! I'm still going to try over the summer, but only with the smaller dob and binoculars.
I have the good fortune of some much light pollution that astro dark doesn't make a big difference...
-
2
-
-
On 01/05/2020 at 02:24, Piers said:
Thanks very much, I'll have a read about the Optolong filter
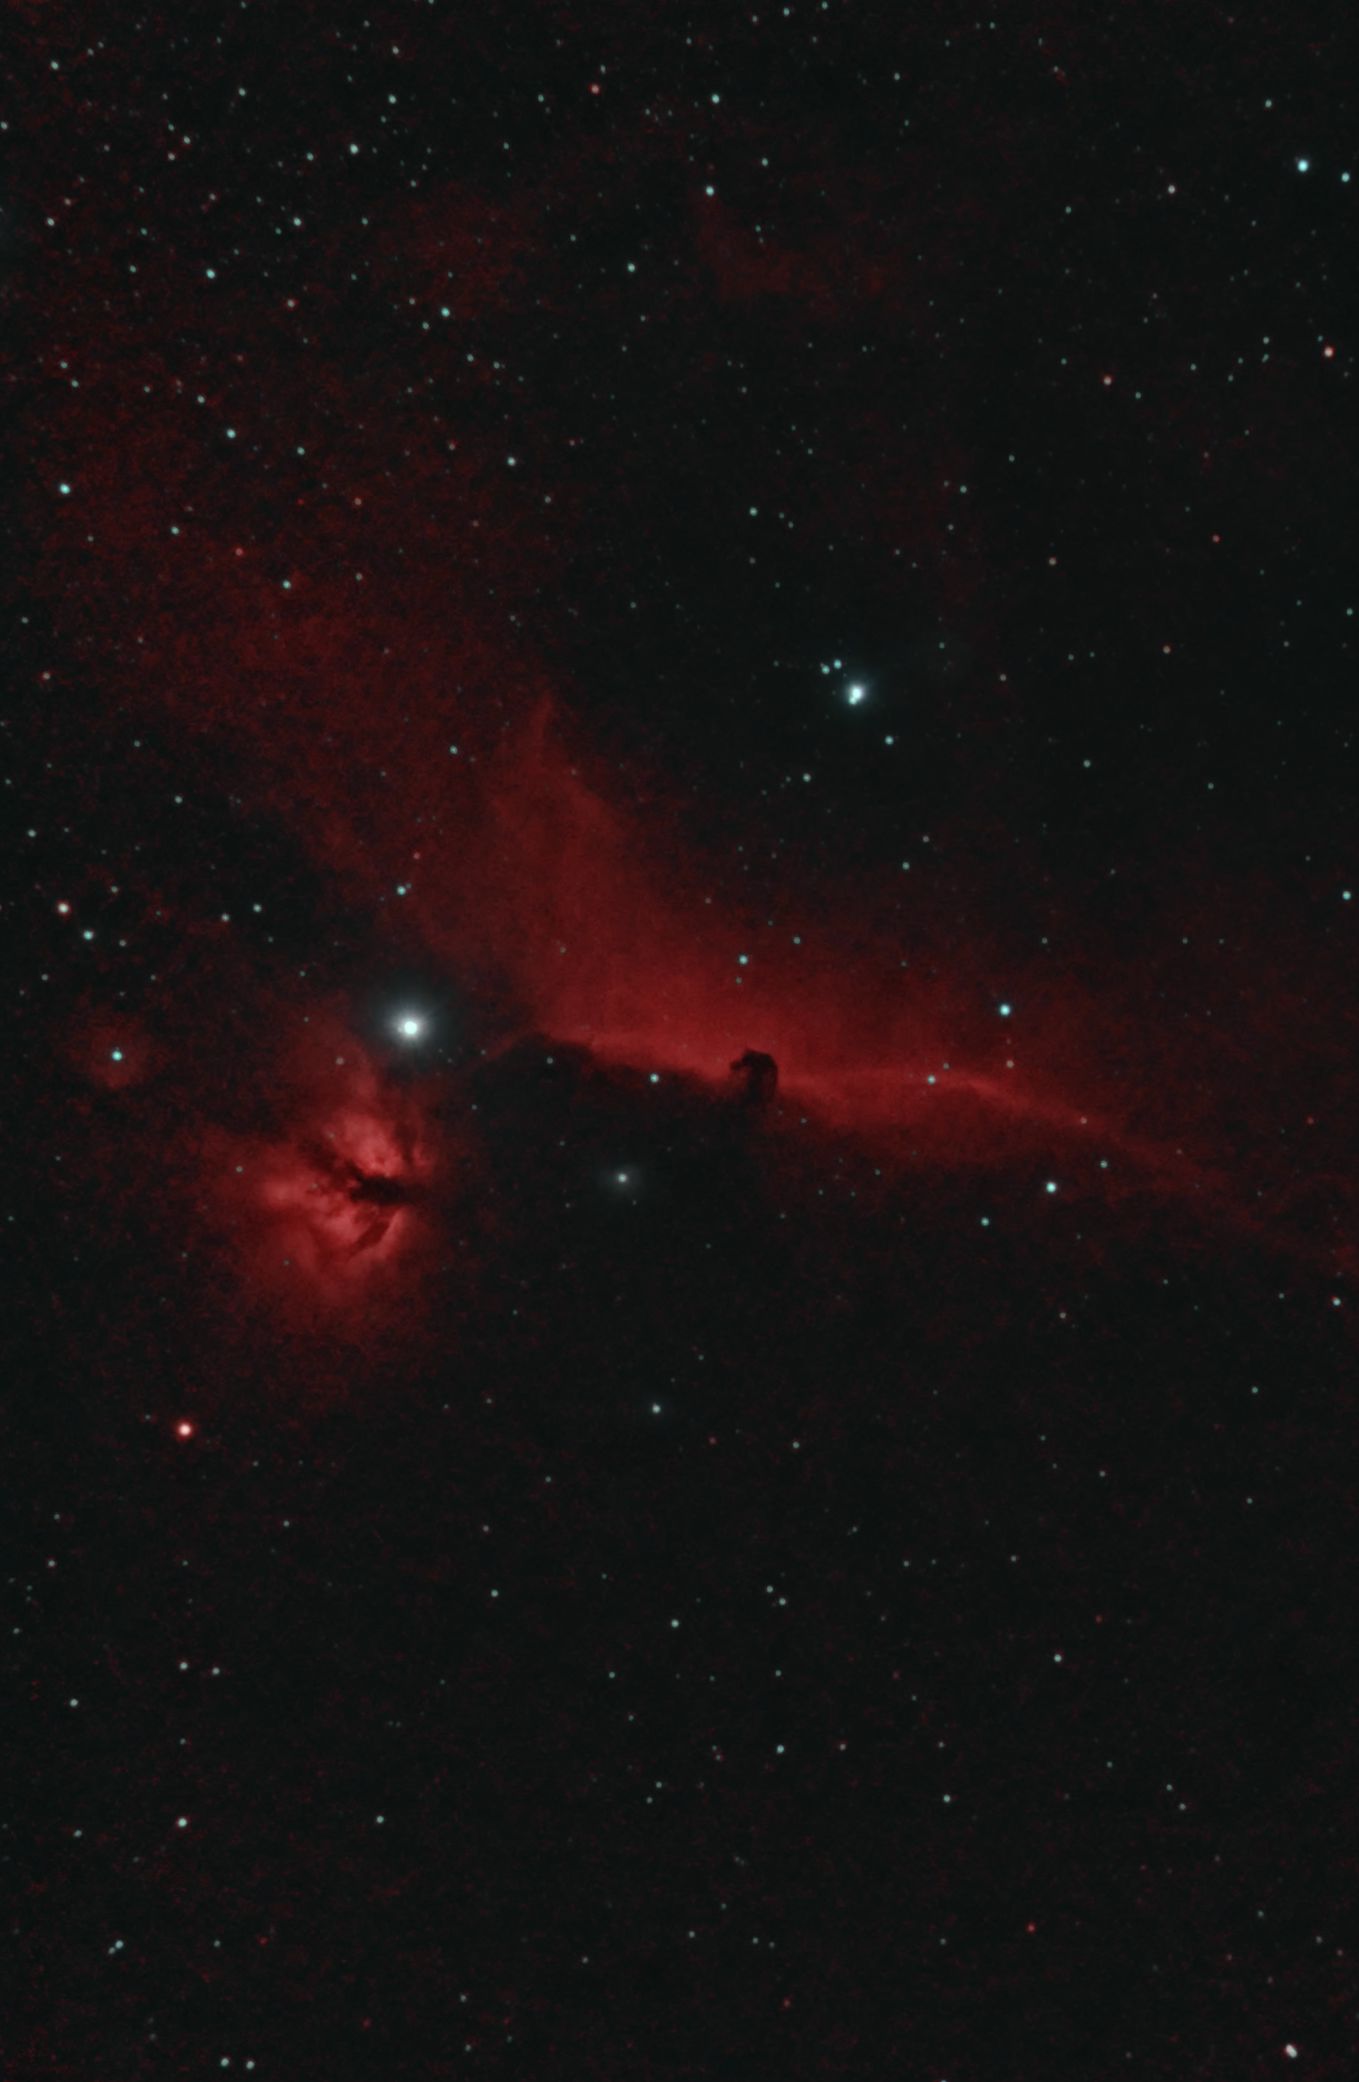
Argh! I've sold you a pup, those are some of my first narrowband images.
These are with the L-Enhance:
-
3
-
-
On 29/04/2020 at 19:36, L8-Nite said:
About 1mm on my Telementor-2 optical tube. The aluminium clamp and base is nicely made.
Hmm a 1mm layer of extra felt shoudl make it a firm fit on the ASI1600.
-
1
-
-
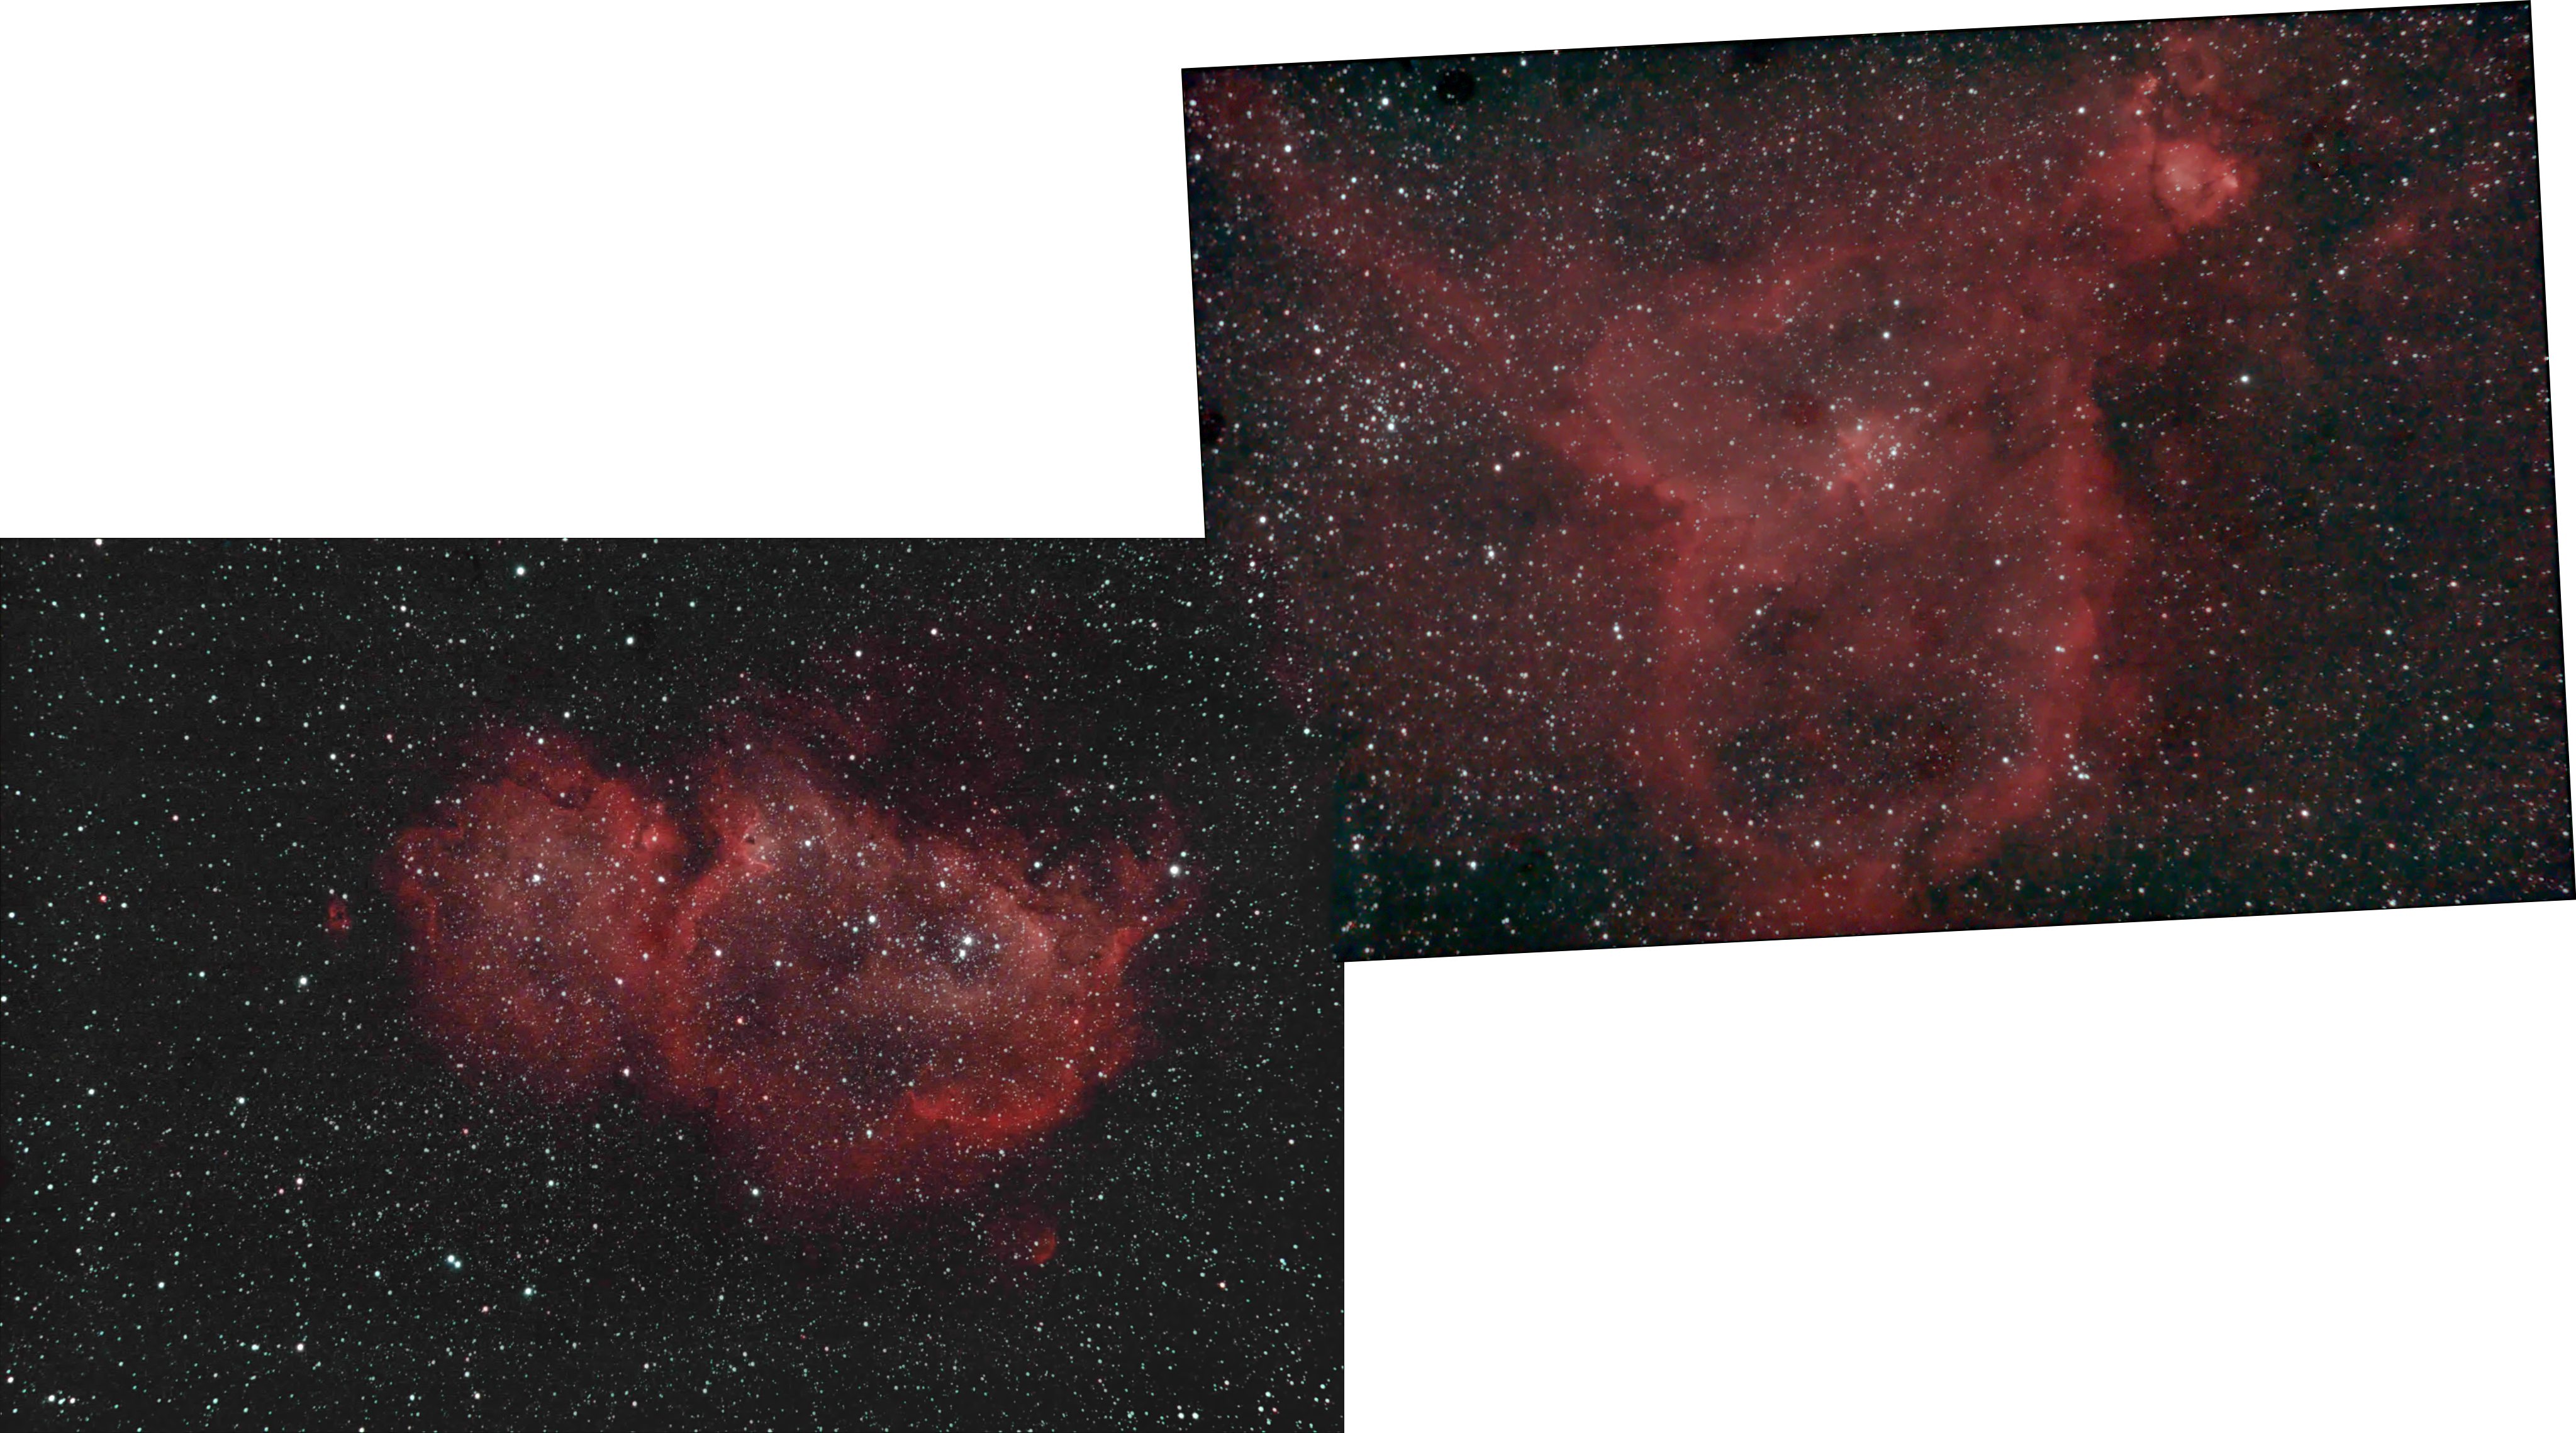
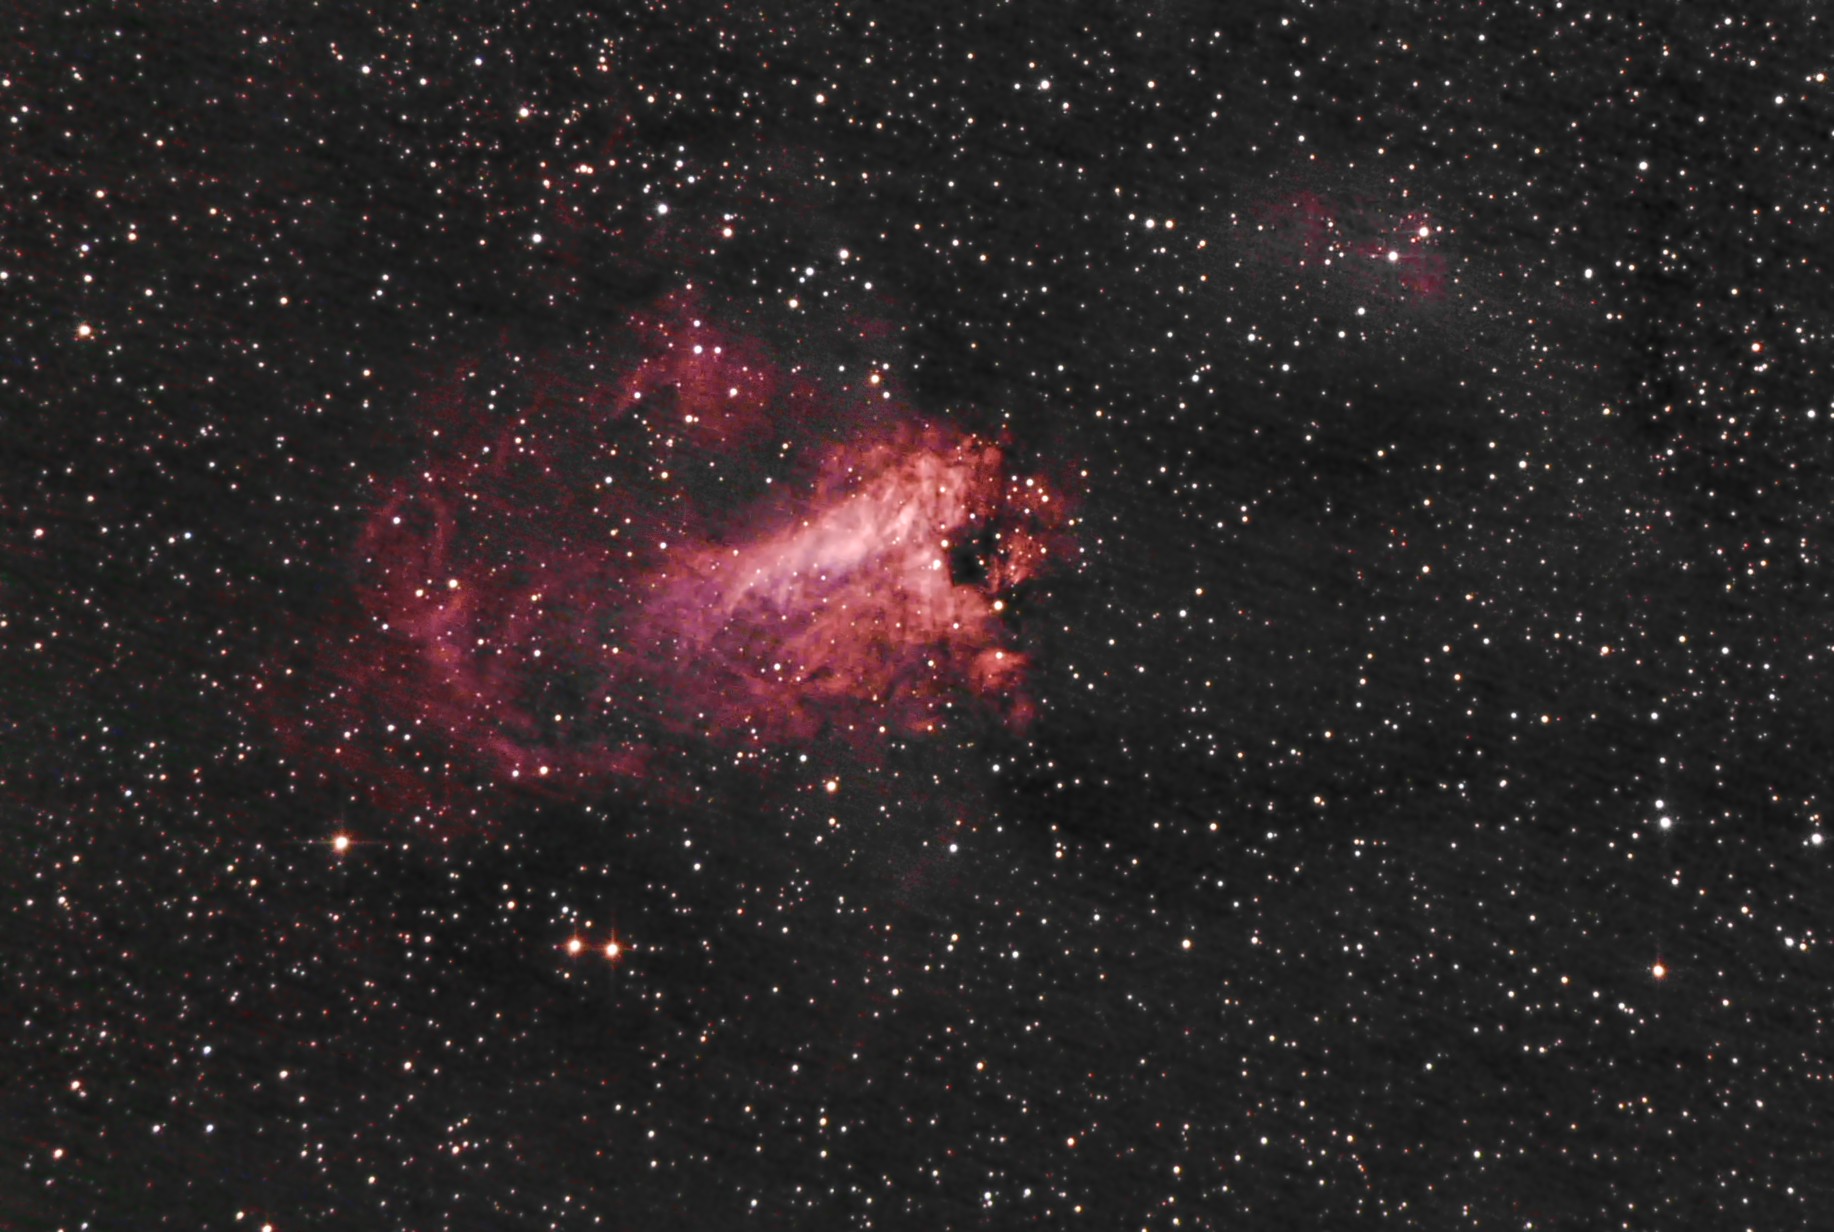
If you have a camera that's modded or with a strong response to Ha light (I think the A5000 does) then the Optolong L-Enhance filter would be an excellent investment for the nebula season.
You can either use it for synthetic colour images like those below or as originally intended as an L-layer to go on top of RGB data. These were taken with a modded Canon 450D and the L-enhance. and a 130-PDS.
<Edit I should add that before getting this filter I got a very basic moon and skyglow that cost about £15 and it worked absolute wonders for my images>
-
3
-
-
55 minutes ago, L8-Nite said:
Today I received a Tripod Mount Collar Ring for a Canon camera lens, but purchased it for actual use on my Telementor refractor, as an auxiliary finder mount.
For years I have been trying to acquire a Zeiss Finder and have had no luck, saw this on another Astro site and ordered one. The colour and paint finish closely matched my optical tube, and the clamping band does not block the peep sight finder. The nominal internal ring diameter is 80mm, so should work for optical tubes of this size. The ring fits snug on our T-1 Model and slightly loose on the T-2 Model, but that's easily remedied by using a thicker piece of felt.
This would be a useful accessory for Telementor / Telemator owners who don't have an optical finder and would like to adapt one to their scope. Its economically priced and nicely made.
If anyone is interested, the Ebay details for the one I purchased are...……… " Tripod Mount Collar Ring for Canon C (WII), EF 70-300mm f/4-5.6L IS USM "
.
Hmmm ... ASI1600MM-pro is 78mm diameter.... how big is the gap when clamped up tight?
-
On 26/04/2020 at 19:48, WatcherF said:
My first telescope arrived Friday evening.
Slippery slope starts here...
-
2
-
-
A couple of pics:
-
7
-
 1
1
-


.JPG.49e8a0e4b4fe8e3c7ae7ce3c2af3a1ca.JPG)
.JPG.87ab5ef58a4a84c5d686a3d33252cb16.JPG)


Equatorial Platform - New Build
in DIY Astronomer
Posted
A new project! I'm making an equatorial platform for 52 degrees, so OK both for here and South Wales with a few mm of tilt and most of the UK with minor adjustment.
I want to combine 3D printing with other techniques.
Here's the South bearing, the pin is a push fit in two ball races and will be glued into a 3D printed bracket on the base.
I'm printing the second of two sectors now, in two minds about facing them with aluminium strip, if I do I will need to pre-bend the strip as it's very springy!
I found it a devil of a job to find simple instructions for the size of the sectors.
If you use inclined sectors, imagine a horizontal line from the lowest point of your north bearing arc to the south bearing. The length of this will set the proportions for other dimensions, I decided on 600mm.
The diameter of the bearing sectors = bearing separation * SIN (polar angle)
The sectors need to be angled perpendicular to the polar axis