


Sagitta reached,time for a tile tool!!

Entry posted by crashtestdummy
1,266 views
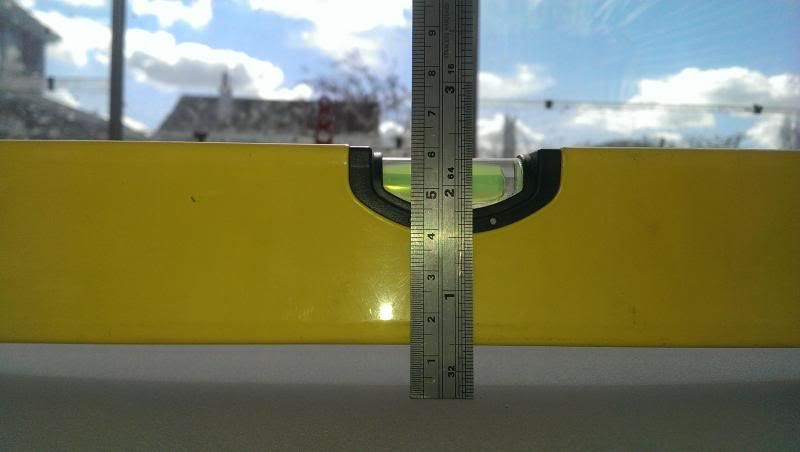
So, after 40 hours of grinding I finally got down to my desired 12.5mm sagittal depth!!stage one complete and looks like a good curve.total time just over 55hours from starting!!
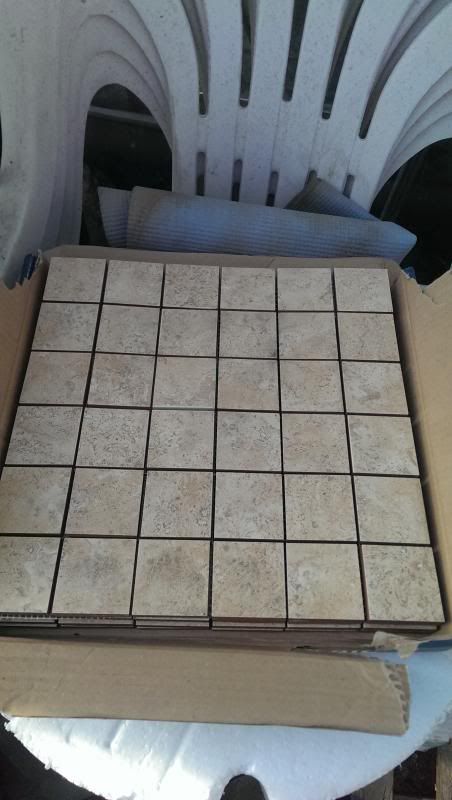
So it was time to make a tile tool ready for second stage grinding. Trip out to homebase to buy a 25kg bag of cement and then an hour trawling through tile shops looking for decent mosaic tiles which proved fruitless so I emailed John (glasspusher) who as always came up trumps with an ebay link and a pack of mosaic tiles was ordered. The ones I was looking at were £12.00 a sheet, John's link was £13.05 for 4 sheets!!!!!job done!!
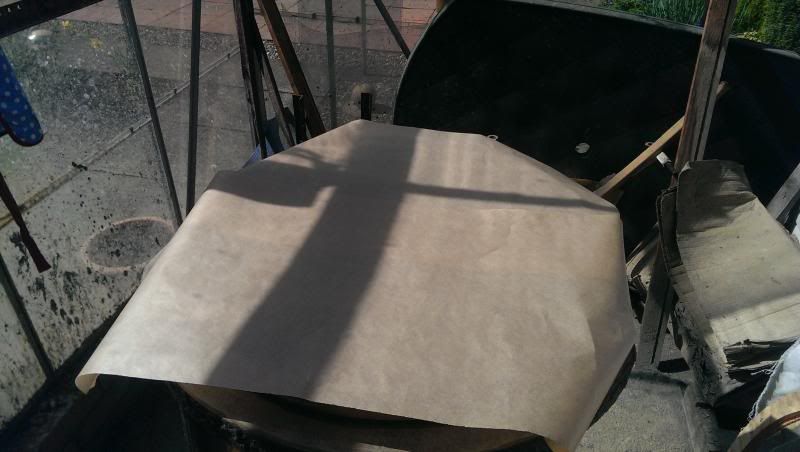
It all starts with some greaseproof paper.it would be better to have a single sheet and some people cut a circle but I just bunged two sheets together as I don't think it matters too much.
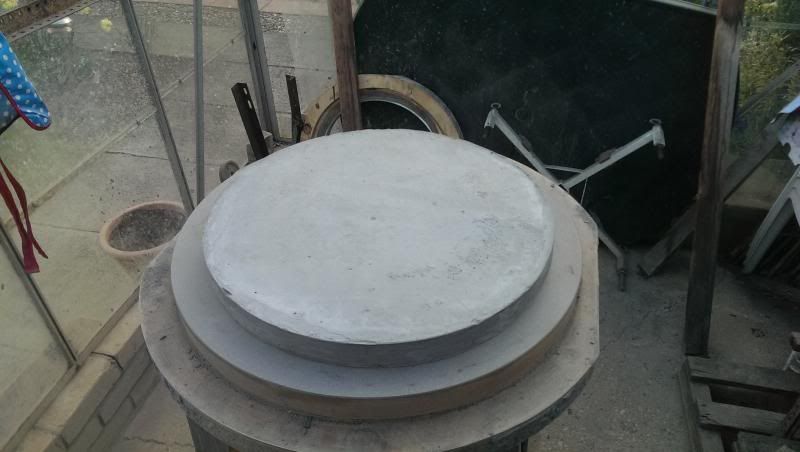
Damian who has been grinding the other 22" mirror built a former to fit our mirrors and this really has made casting a tile tool so much better. I'm sure he could market them if necessary ;)the tile tool is 18" which is about 3/4 diameter and it weighs about 15kg!!!!!
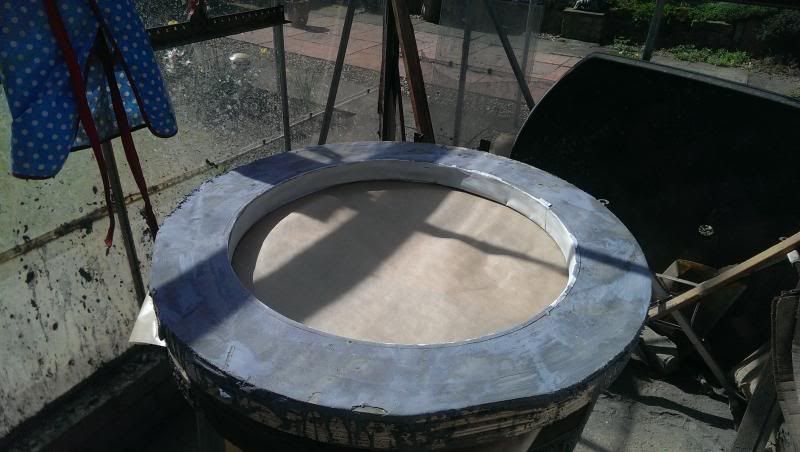
Cement poured and working those air bubbles out. I had initially thought I had made the cement a bit too dry but once in the former lots of water was rising to the top as it dried so think it was ok. Spent a good 45 minutes shaking the former about to get the air bubbles out.

After about an hour it almost looks dry, especially as it was 20 degrees that day and I grind in my greenhouse. Took care to cover the tool so it didn't get too hot in the sun. After this I left it over the weekend as I was away with the girlfriend so it got plenty of curing time!
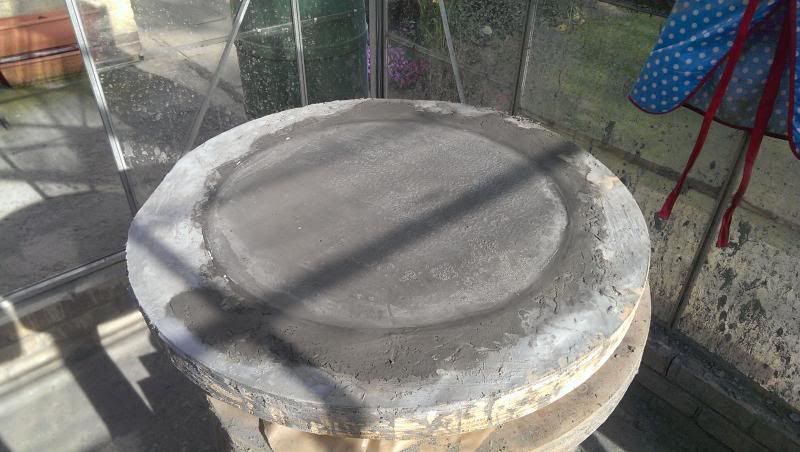
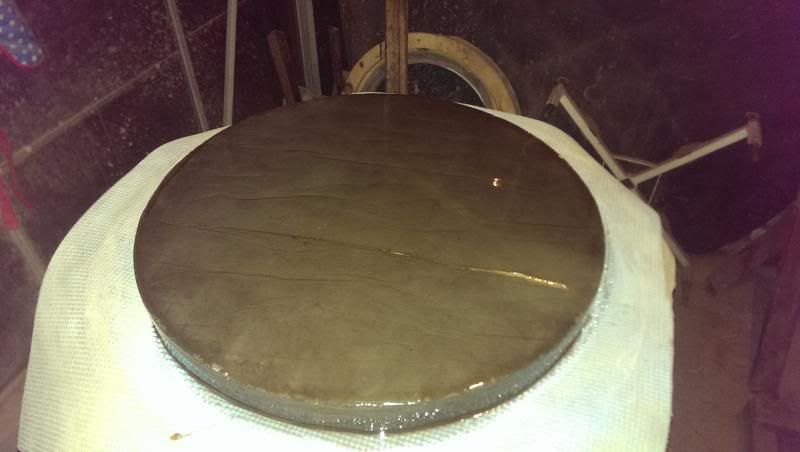
Getting the tool out of the former was a fairly easy task but it took it easy just to make sure I didn't break the tool. I ended up wrapping a brick in some foam and tapping it out in a circular motion. Tool looks good, no big air bubbles and just a few lines on the front from the grease prop paper overlap.
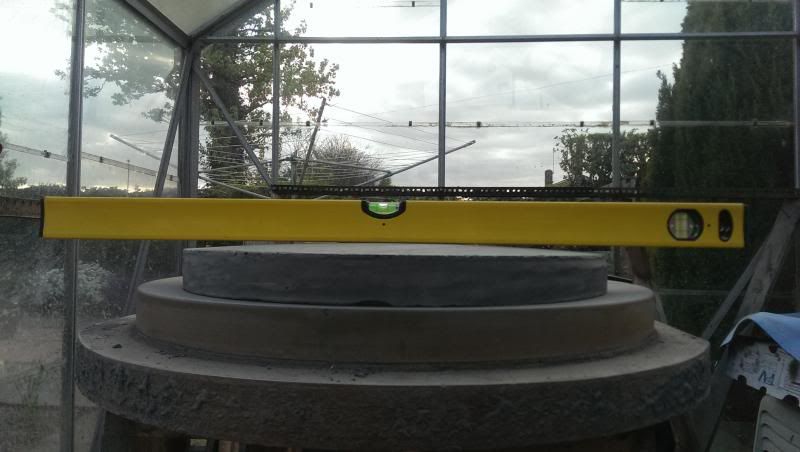
Placed above the mirror for comparison and because I wanted to check the curve match up which was perfect.
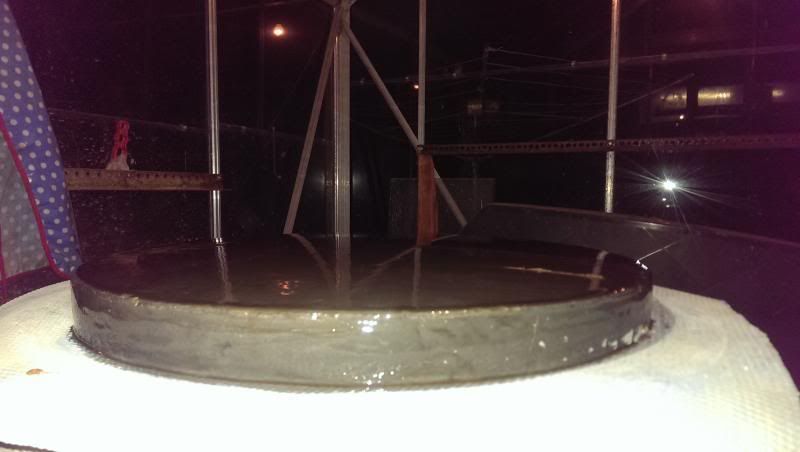
Here's is a quick one showing the curve of the tool.I bevelled both sides too as some of the edges left during casting were quite sharp.
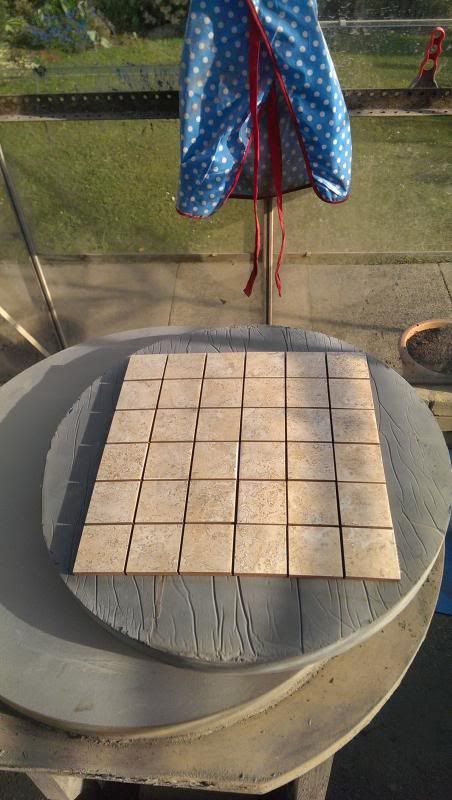
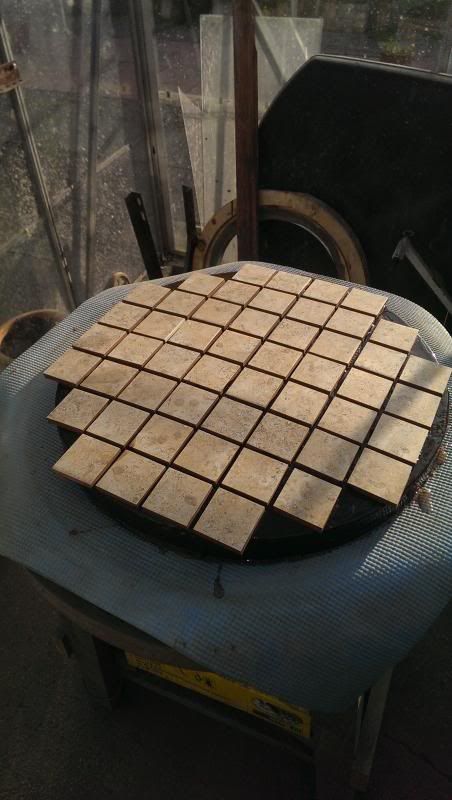
Tiles had arrived by now so decided to do some mock up. One sheet isn't enough, the tool takes about a sheet and a half and had I known this I would have given Damien the other 2 but I found out too late and he had already ordered them :(

Mixed up some resin to give the front of the tool a base coat as this helps to seal it and stop water ingress. It also covers up any imperfections and leaves the surface smoother for when you apply the tiles.
I had to file down a small raised section(visible in picture) to make sure it was smooth.
left this to dry overnight then the next day it was time to glue the tiles on. Damien had done this the day before and had commented on how quick the resin had gone off. Well I had the same rush, half way through and it had cured quite a lot and I struggled to get the last few on in time. I wasn't 100% happy so I pulled two overhanging tiles off and re-stuck them on to make sure. Waited half an hour to make sure it had set and I cut the overhanging bits off to make the tool easier to handle. I'm in two minds if I should fill in a few of the gaps on the edges but I doubt it will matter too much. I also went back a little later and mixed some more epoxy and filled the channels in a bit for some extra security incase some of the later tiles hadn't stuck properly.

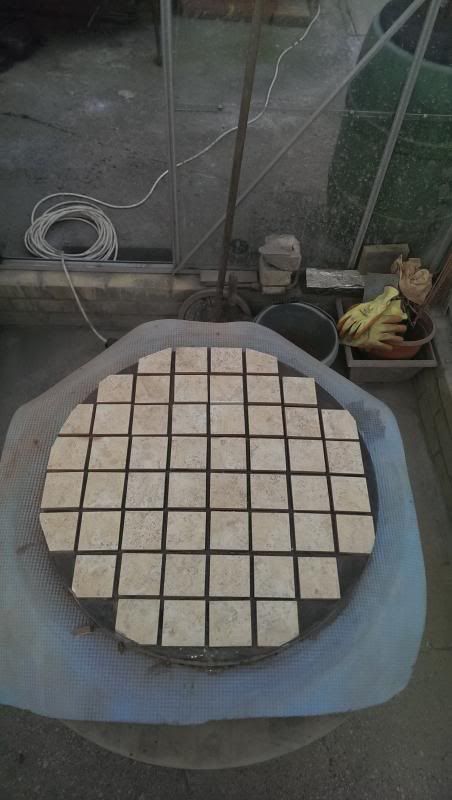
Tile is nice and smooth and doesn't seem to have any raised sections so should grind nicely. Looking forward to getting started but I'm going to top up my bevel tomorrow for an hour then its bank holiday weekend so no grinding until Tuesday at the earliest!
So far its been pretty straight forward but the next stage is where things start getting a bit more technical and lots of atm sites give vastly different techniques and methods of grinding with a tile tool so I can be a little confusing. Without the help of John and Damien doing the same grind as me it would be much harder. Hopefully with more people blogging about mirror making it will help others find the right info.
clear skies Rich
-
 1
1

7 Comments
Recommended Comments
Create an account or sign in to comment
You need to be a member in order to leave a comment
Create an account
Sign up for a new account in our community. It's easy!
Register a new accountSign in
Already have an account? Sign in here.
Sign In Now